It’s the most wonderful time of the year! Christmas is almost here and I love decorating for the holiday season.
The main floor of our home doesn’t really have the floor space for an actual Christmas tree — so this year, our full-size Christmas tree will be put in our recently remodeled basement. But I still wanted a Christmas tree of some sort in our daily living area.
After seeing this PVC pipe tree idea from Martha Stewart (which doesn’t take up any floor space), I just had to build one myself!
I had the perfect spot in mind for this flat-ish PVC Christmas tree… We have an eat-in kitchen with a window off to the side of a peninsula in the area of the dining room table.
I have a window film on this particular window — because we have our toyhauler parked on the other side of it. The window film has a stained glass effect, which allows the light in but perfectly hides the less than stellar “toyhauler view.”
I had a vision to place the PVC Christmas tree within the window frame — because who doesn’t love a window tree?
NOTE: There is a disclaimer about this PVC tree, which I would like to share with you — should you consider building one. The project was a big and messy job that required cutting and sanding the PVC pipe. It took more time and PVC pipe than I had initially anticipated. The tree would have also been quite costly if I had to buy all the PVC pipe new or acquire any new tools or supplies to get the job done. I was fortunate to have access to lots of random sized PVC pipes and tools — with the exception of one 10-foot x 3-inch PVC pipe from Home Depot that cost $20.
I ended up using about 25 total feet of various diameters of PVC pipe for this project.
Materials Needed To Make A PVC Christmas Tree
Here’s a list of the supplies I used for my PVC pipe Christmas tree:
- Scrap pieces of PVC pipe (I had various diameter sizes: 1.5-inch, 2-inch and 3-inch. If you don’t have any scrap pieces, I recommend buying 10-foot lengths of 2-, 3-, 4-, and/or 5-inch PVC pipe. The 3-inch is just not big enough to hold larger ornaments, and the 1.5-inch is just too small for anything except mini-ornaments. But it really depends what you’re trying to achieve. I had to buy one 10-foot length x 3-inch diameter pipe because I realized I didn’t have nearly enough PVC pipe after I started cutting the scrap pieces that I had on hand.)
- Scrap pieces of 4×4-inch vinyl blank fence post sleeves (We had some left over from our basement remodel. I added the square pieces to the mix to hold the bigger ornaments and add to the dimension of the overall look.)
- Miter saw
- Sanding belt and disc combination
- 2 cans of Primer spray paint
- 1 can of White spray paint
- 1 x 3 x 8 pieces of wood (the number of pieces will depend on the size of your tree)
- Measuring tape
- Gorilla glue construction adhesive
- PVC cement
- Acid brushes (to apply PVC cement)
- Marker or pencil
- Clamps
- Eye protection
- Ear protection
- Dust mask
- Christmas ornaments
How To Build A PVC Christmas Tree
These are the steps I used to build a PVC pipe Christmas tree:
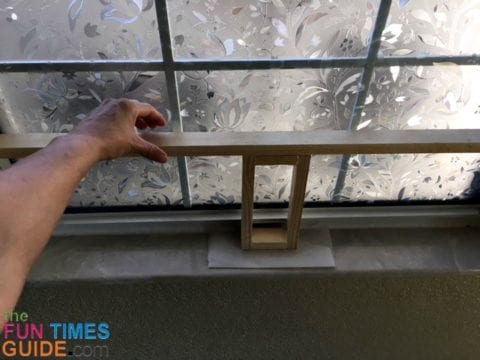
- I measured the window space I had to work with and imagined where I wanted the tree placed. I knew I wanted some space at the bottom of the isosceles triangle — so I factored in a stem too.

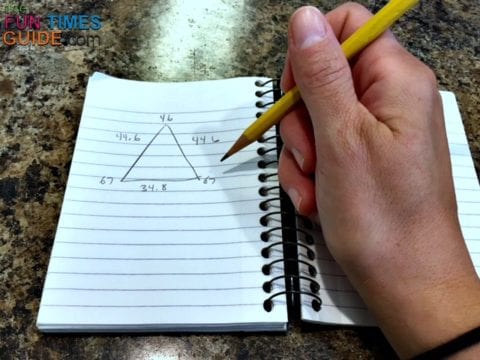
- I figured out the angles I would need to cut using this formula I found online. TIP: This formula can be used to calculate other things too (such as area) — if you want to try figure out how much PVC pipe you will need before you make a trip to the hardware store.
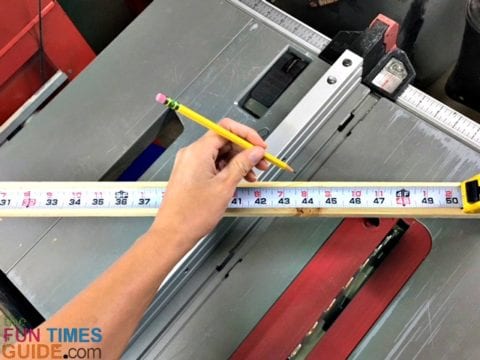
- I created the wood frame using 1 x 3 x 8 pieces of wood trim. I measured the length and used a miter saw to cut the required angles.
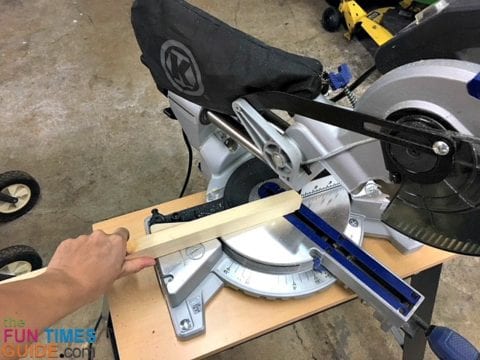
- I assembled the wood frame by gluing it together with Gorilla Glue. I started with the base and then basically built & glued the pieces while having it sit within the window frame. I let the finished tree frame set — so the glue could cure for a full 24 hours before touching it.
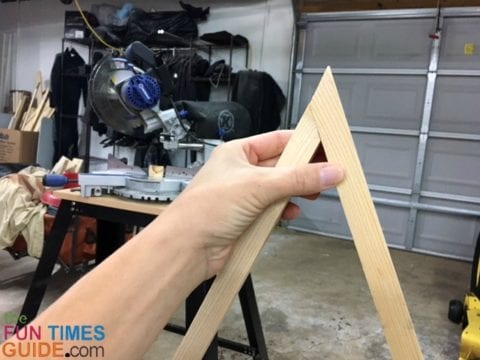
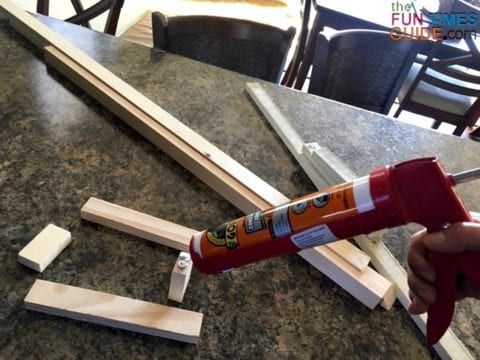
- I measured the window depth — so I knew how deep to cut the PVC pipe pieces. My window frame had a maximum depth of 4 inches.
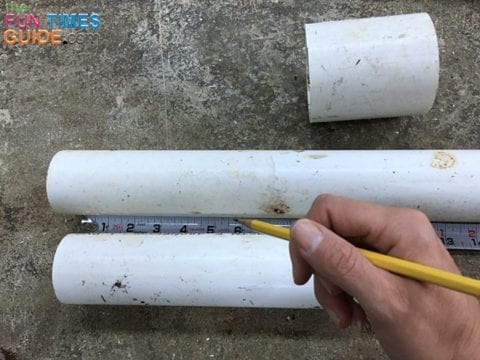
- While the wood frame was curing, I started cutting the PVC pipe pieces. TIP: I recommend using mouth, ear, and eye protection when using a miter saw — especially when cutting the PVC pipe. It makes an absolute mess! A smock would be really handy since the PVC shavings get embedded in the fibers of your clothes.
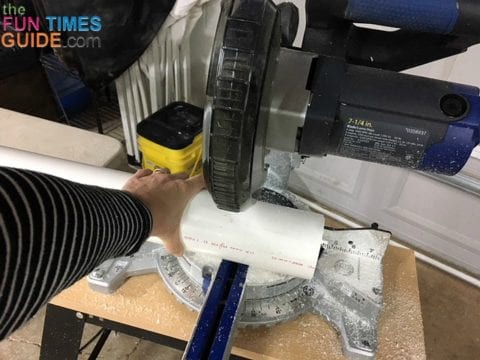
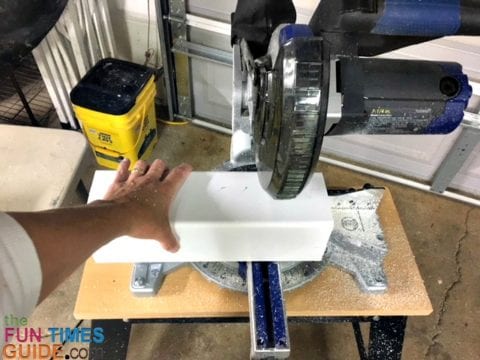
- I proceeded to cut the various diameters of PVC pipe. I wanted to create dimension in my PVC tree by having various depths of pipe. For example, I cut the 3-inch pipe to 4 inches, the 2-inch pipe to 3.5 inches, the 1.5-inch to 3 inches, and the 4-inch vinyl post sleeves to a 3.25-inch depth.
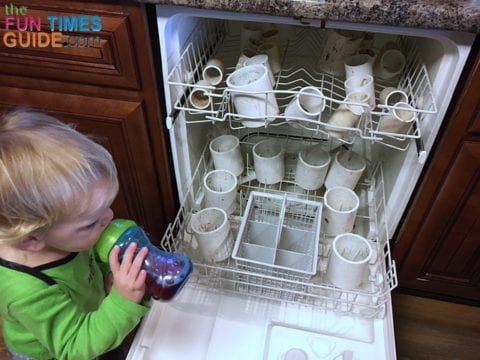
- The scrap PVC needed a good cleaning because it had been sitting outside. So I loaded all the cut pieces into the dishwasher. (If you have brand new pipe, you get to skip this step.)
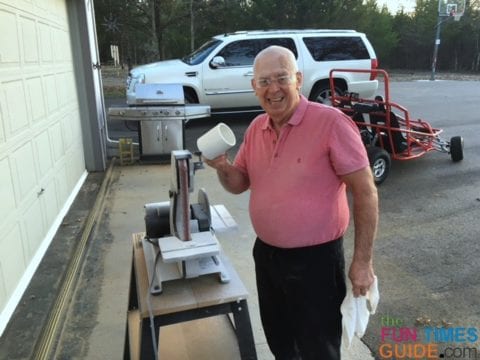
- I’m not sure if it’s just me, but I found it very difficult to get a clean cut on PVC pipe using the miter saw. The larger diameter pipe was bigger than the blade — so it needed to be rotated to cut all the way through. Most of my cuts had jagged edges — which I knew would be magnified after painting. I wasn’t about to go through all that hard work to have jagged edges, so I enlisted help from my father-in-law. I brought the pieces to his amazing workshop which has every tool a project lover like me can think of — including the much needed belt and disc sander combination to smooth the jagged edges of the PVC pipes.
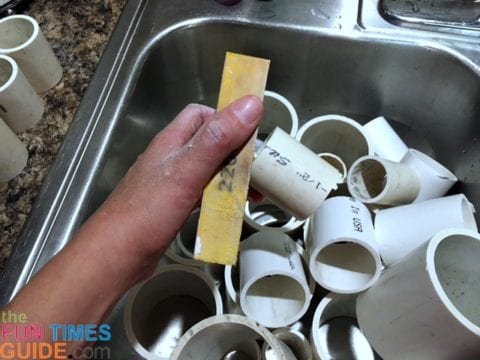
(I tried sanding the pieces by hand, but gave up after realizing it was a futile attempt. Since I was dealing with so many PVC pieces, the project would have never been completed in time for Christmas!) My father-in-law painstakingly sanded each piece of PVC pipe using the disc sander to erase the jagged edges from my hack cuts. He created nice, smooth edges for each piece. TIP: You’ll want to wear a mask and eye protection — and plan to have a shower afterwards. It’s a messy job which should be done outside due to all of the PVC dust.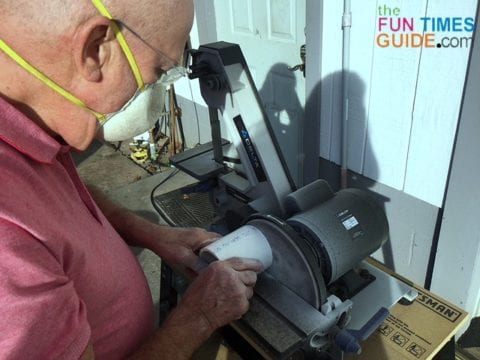
- The sanded pieces were dusty from the PVC shavings, so I rinsed them off before using them to assemble my PVC Christmas tree.

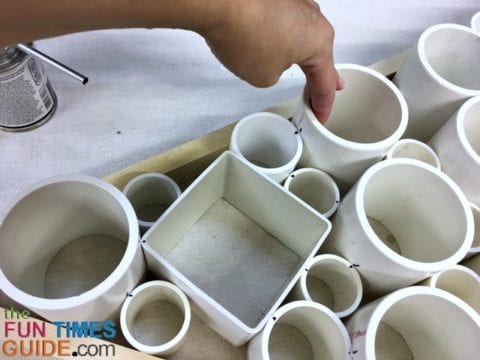
- I laid out the tree frame on a work cloth covered table — so I could start laying out the various pieces of PVC. TIP: The tree frame is really helpful in determining where to place the different size PVC pipes. Plus, it has the perfect amount of tension after fitting each piece like a puzzle — so you’ll never have to worry about it being crooked!
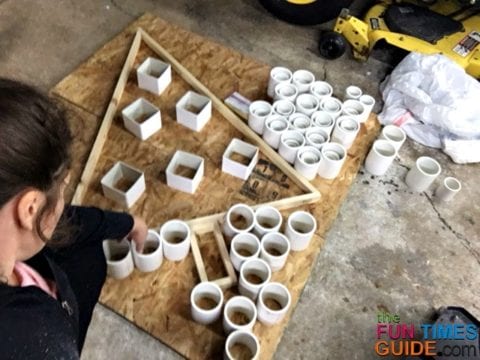
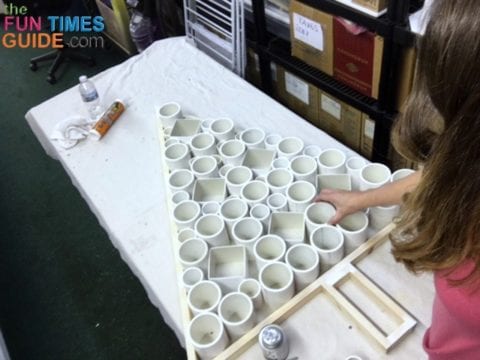
- Once I had the layout as I wanted it, I marked the connections (basically anywhere a pipe touched another pipe) with a marker — so I would know where to apply the PVC cement as it would be glued piece by piece within the frame. Marking the connections was really helpful in knowing where to place the cement — because some of them have multiple points of contact. TIP: Do not use a black Sharpie marker like I did… use a pencil or light colored marker instead. The black Sharpie marks required a lot of primer to cover. Also, try to hide as much of the PVC print on the glue connections. Hiding the print up front will give you less to prime and cover in the paint process.
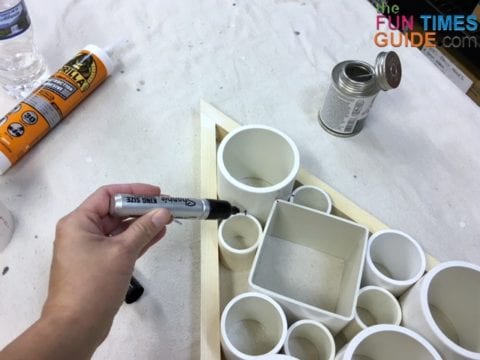
- The PVC cement bonds quite quickly, so I just worked my way from side to side gluing contact points to each other — applying the cement to both connected pieces but not to the wood frame. TIP: Use clamps on any pieces which don’t seem to have enough tension holding them in place on their own.
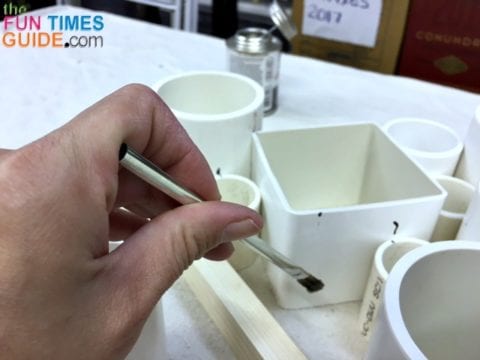
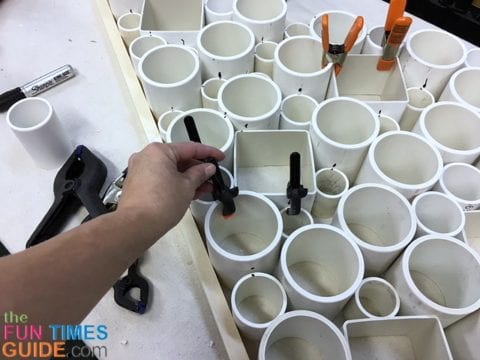
- Originally, I had planned to keep this PVC Christmas tree within the frame because I thought it would need the support. But the PVC cement worked so well keeping the entire tree intact and supporting itself — and I liked the look of it without the wood frame. Since, I had already factored in a stem with the wood frame, I had my father-in-law cut another piece of 3-inch diameter scrap pipe, and he screwed it on with brackets to keep it in place as the base.
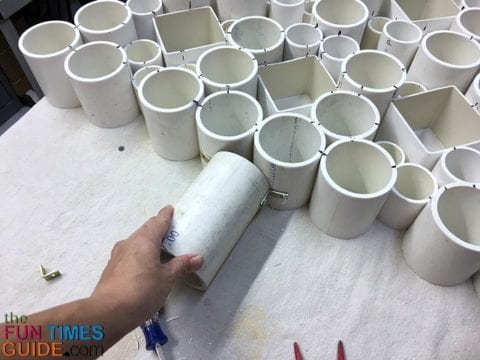
- The tree surprisingly stayed together on its own — solidly and intact. It was ready to be primed and painted.
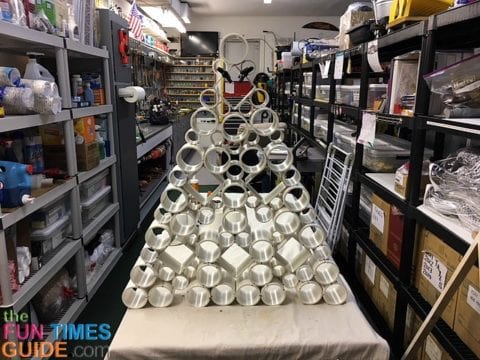
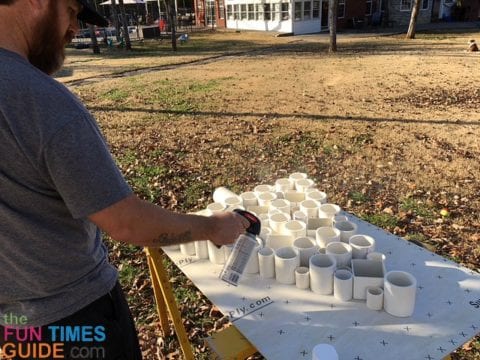
- My husband and father-in-law helped with the primer. We sprayed only the front side and used 2 full cans of primer. (As mentioned earlier, the Sharpie marks and the PVC stampings were really stubborn to cover.) Once the primer was dry, I used 1 can of white spray paint to finish the paint job and give the PVC tree a nice, crisp look.
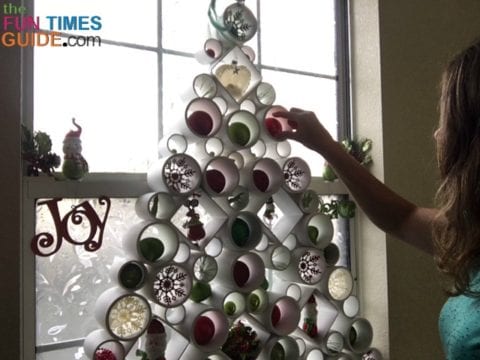
- I placed the PVC pipe Christmas tree in the window. Although it felt relatively stable, I used some double-sided velcro tape to prevent any movement from side to side. (I don’t quite have a solution for “visibly appealing” anchoring just yet.)
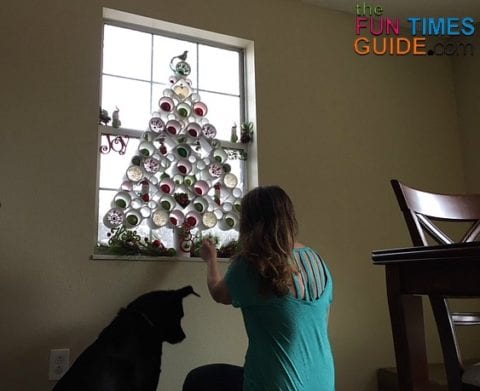
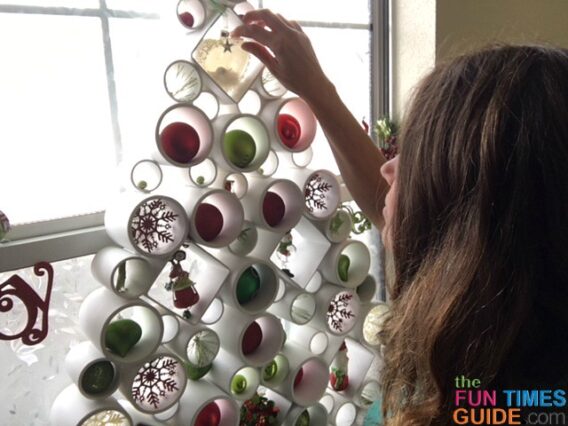
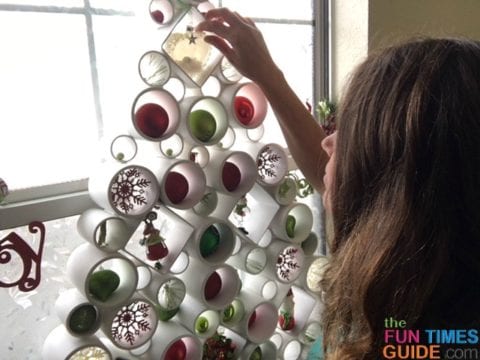
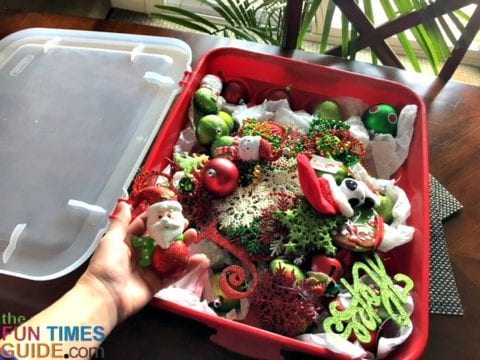
- With the tree in place, it was finally time for the decorations! I filled each space using some cherished Christmas ornaments given to us by a sweet family. It was fun to fill up the PVC spaces for an eclectic, yet cohesive look.
The Bottom Line…
Although this DIY project was a hot mess and a lot of work, I absolutely love how the PVC Christmas tree turned out!
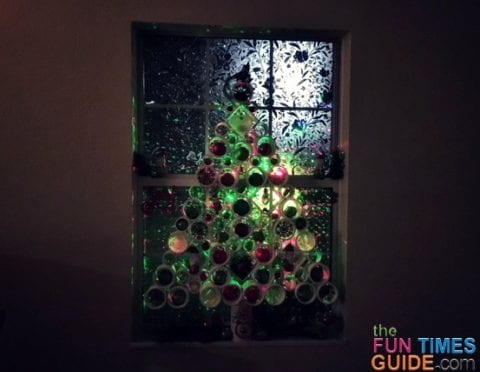
I even decided to take it a step further by illuminating the glass from the outside with one of those Star Shower laser lights. At night, the green and red laser lights shine through from outside — illuminating the tree so pretty. The stained glass window film diffuses the lasers and really adds to the effect.
Besides not taking up any space, I adore this PVC Christmas tree for 2 special reasons:
- I got to build it with help from and time spent with my father-in-law and my husband.
- The tree is filled with ornaments that belonged to a sweet family who not only moved into our hearts but also to South Africa for 2 years on a missions trip. So now I get to think of them every time I look at the tree. Read more about their mission here.
This is the perfect Christmas tree for anyone with limited space.
I hope you enjoyed this tutorial and I wish you a Merry Christmas!
Like this post? Save it to read again later… or share with others on Pinterest!

I’m a first-time mom. I work from home and write — mostly about my outdoor adventures, DIY projects, newly discovered products, and helpful tips as a first-time mom. I also like to share details about the alternative choices I’m exploring, as I enjoy this journey called motherhood. My family includes a toddler, 2 stepchildren, 1 dog, 1 cat, and a wonderful husband. My pre-pregnancy life was full of freedom and adventure, so I have a fresh new perspective when it comes to walking away from a career to become a full time stay at home Mama.
