Looking for a place to keep sharp objects in the kitchen out of reach from small children?
My son is 2 years old. Not only is he curious and rambunctious, but he also wants to touch everything his little hands can grab ahold of.
I knew that I would eventually need to find a safe spot for the random collection of spare knives, pokey things, and other sharp objects in my kitchen utensil drawer. Now’s the time… because he can almost reach them.
Rather than wait for a potential hazardous situation to occur, I needed a storage solution to get all of the sharp things out of the kitchen drawers and beyond the reach of his curious hands — while still having those utensils easily accessible to me.
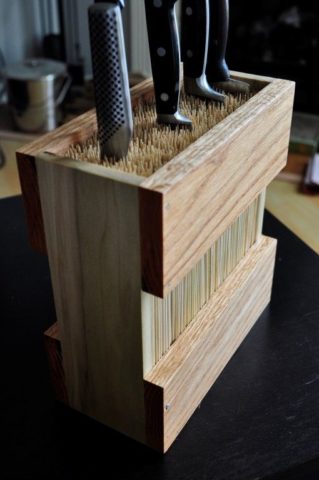
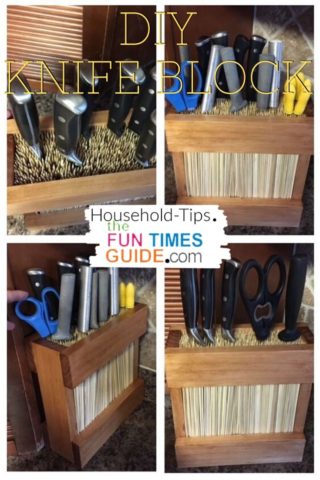
I found this idea for a bamboo utensil holder on the Internet. Although the author did not offer a tutorial, it was easy to piece together what he did from his picture alone. I really liked the look of it and hoped to achieve something similar myself.
See how I made a similar kitchen utensil holder using a few pieces of wood and some bamboo skewers…
It’s A Truly Universal Utensil Holder
This DIY project was relatively easy (minus an unforeseen additional step that I’ll get to in a minute) and it cost less than $20 to make — because I most of the items on hand already.
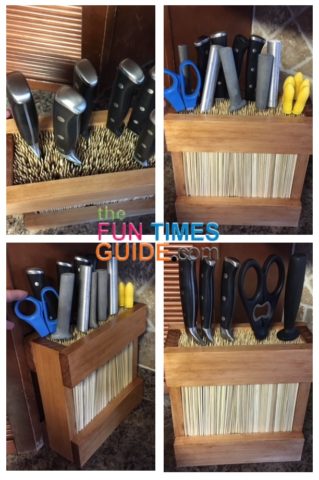
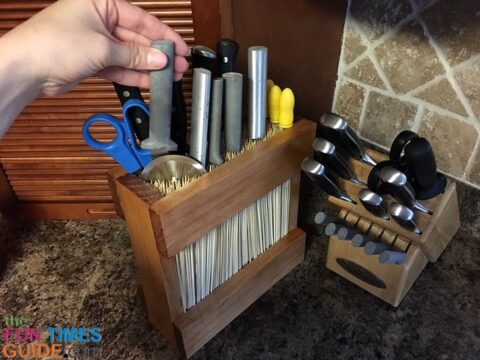
I really like that now I can fit any kind of knife and any shape & size of utensil into my universal knife block!
The best part: you can make it any size you want. So if you have a bunch of sharp utensils that you want to store this way… make it larger. And if you only have a few, or you’re limited on counter space… then you can make it smaller.
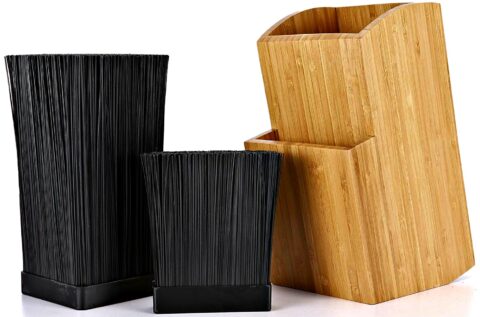
If you’re not up for making your own, Amazon has a bamboo universal knife block that’s similar — and already built:
Materials Needed
Here’s a list of the supplies I used to make this kitchen utensil holder:
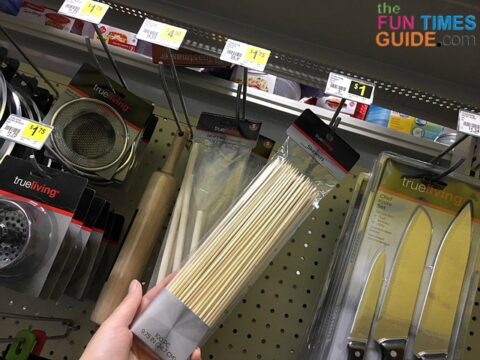
- 11 packages of 100 bamboo skewers ($1 apiece at Dollar General)
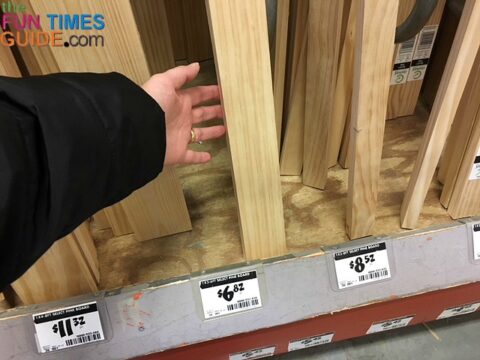
- 1 pine board 1-inch x 3-inch x 6-foot ($8 at Home Depot)
- Contact cement
- Wire cutters
- Pencil
- Ruler
- Miter saw
- Stain (optional)
- Paint brush (optional)
How To Make A Wooden Utensil Holder With Bamboo Skewers
Here are the steps I used to make my own kitchen utensil holder and universal knife block in one:
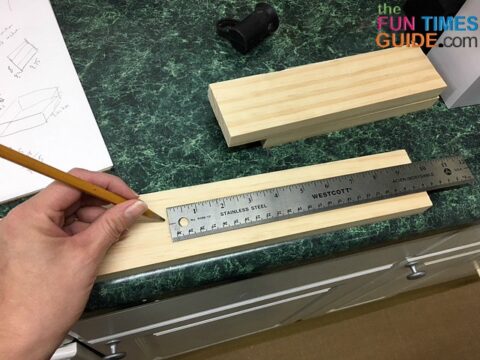
#1 – First, I determined the area in which the utensil holder would most likely be placed in the kitchen and roughly which utensils I’d be keeping inside it. Then, I measured the approximate ideal size — in regards to height and width. I used those measurements to determine how much pine board I would need to make the frame for this wooden utensil holder.
#2 – I bought the board at Home Depot and the bamboo skewers at Dollar General.
TIP: They have 2 varieties of skewers there. Look for the 100 count for $1, as it is obviously the better deal, versus the 50 count for $1.
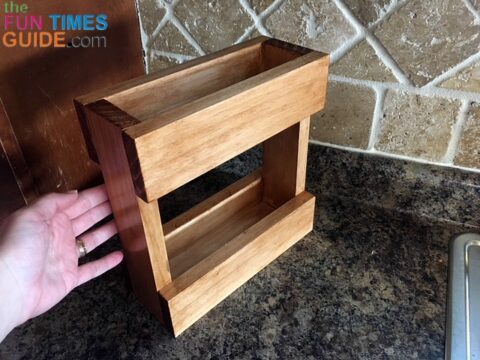
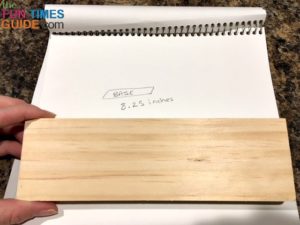
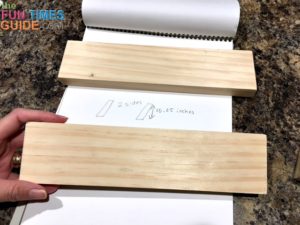
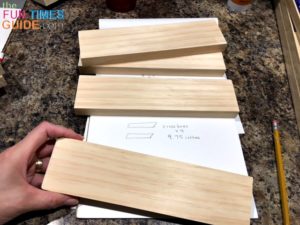
#3 – I made a rough sketch of the pieces and lengths I would need out of the board — for the based of this wooden utensil holder. Ultimately, I determined that I needed one 8.25-inch piece for the base, two 10.25-inch pieces for the vertical sides, and four 9.75-inch pieces for the horizontal sides.
TIP: Initially, I estimated the height of the box to fit the skewers flush to the top — so I wouldn’t have to cut the individual bamboo skewers. But I forgot to factor in the height of the base in which they would be sitting on. Had I added another .5-inch to the vertical sides, I wouldn’t have had to cut the 1,100 bamboo skewers. (But it might have also been too high at that point.) I would highly recommend avoiding cutting the bamboo skewers, if at all possible, in your design.
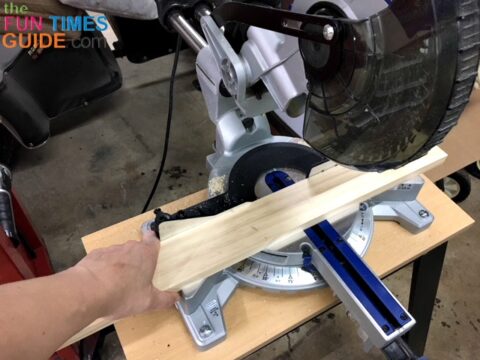
#4 – I cut the pine board using a miter saw, according to the lengths needed.
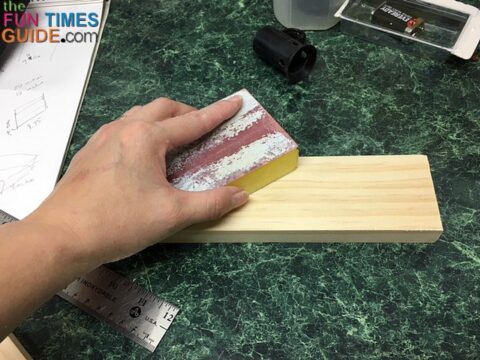
#5 – I sanded any rough edges with a sanding block.
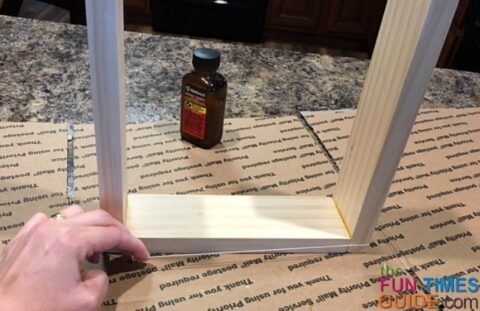
#6 – Once the wooden frame was ready to assemble, I started with the base, adding contact cement to the end edges of the base and to the contact points where the 2 vertical side pieces would connect.
#7 – I wrapped those 3 pieces with a single elastic band until they were bonded.
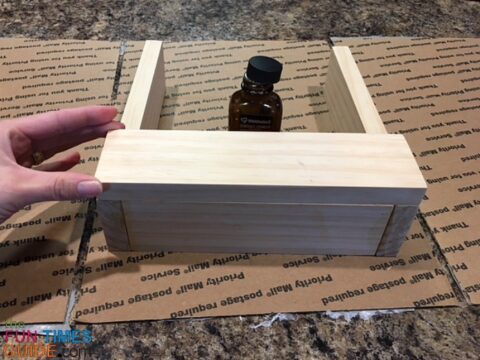
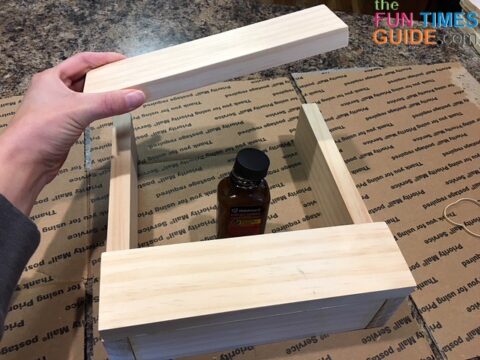
#8 – I laid the partial frame on one side flat — so I could lay out the first horizontal side piece near the bottom. Then, I brushed contact cement onto the bottom 3 edges of the partial frame and onto the back side contact points of the horizontal side piece. I placed the bottom horizontal side piece onto the frame, making sure it was flush with the sides.
#9 – I lined up the top horizontal side piece with the frame and brushed the contact cement on both sides of the contact points of the frame and top horizontal side piece, making sure it was flush with the top.
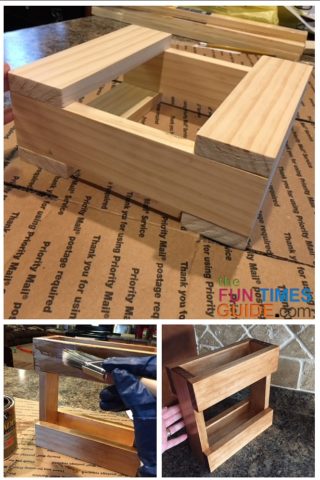
#10 – I allowed both of those horizontal side pieces to bond before flipping the structure over to repeat the process.
#11 – Once all the frame pieces of the wooden utensil holder were bonded, I decided to stain it — to warm up the color of the light pine wood. I applied 3 coats of Minwax stain (Antique Walnut color) with a brush, and allowed it to dry.
#12 – Next, I added the bamboo skewers.
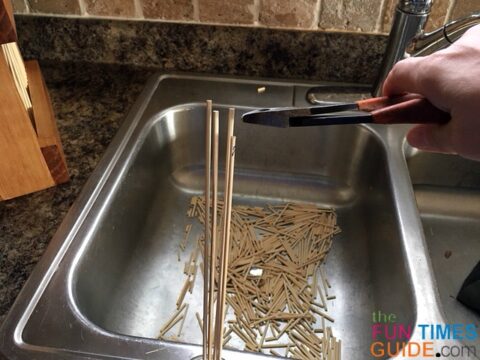
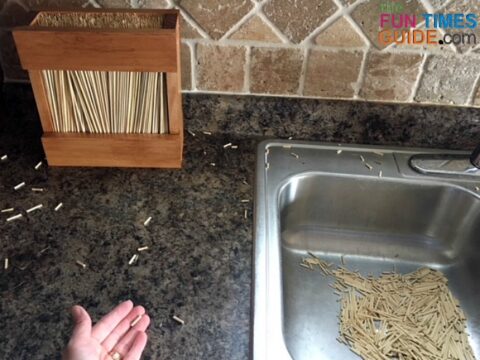
#13 – I wasn’t happy with the points sticking out of the top from my botched initial measurement — so I decided to cut the skewers, so they would sit just below the top surface of the frame. (I hadn’t planned to cut them, so this turned out to be the unforeseen step I mentioned above.)
TIP: I closed the drain in my sink to try to capture all the scrap pieces — because bamboo pieces tend to fly everywhere when the skewers are being cut. I did attempt to try to cut small bundles of bamboo skewers all at once with the saw — but I aborted the mission as the skewers started to move and shift under the blade and I just didn’t feel safe proceeding. So, I cut the blunt end of all 1,100 skewers to size, 3-at-a-time using a pair of old wire cutters. I would recommend wearing gloves — because I got several blisters from doing this tedious part of the project which I did not anticipate.
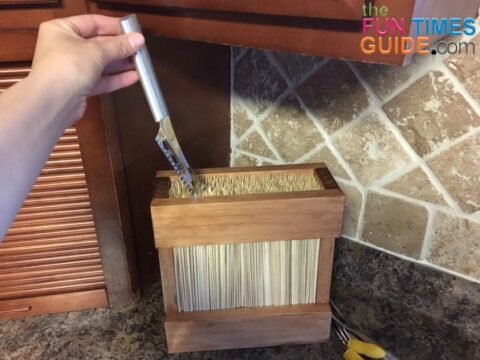
#14 – Finally, I filled up the wooden utensil holder with all of the bamboo skewers.
TIP: Keeping the pointy end of the bamboo skewers up allows for easier insertion of knives and utensils.
The Bottom Line…
I love how this wooden utensil holder with bamboo skewers turned out!
It’s quite versatile — because there are no pre-set holes like there are in a traditional knife block.
This kitchen utensil holder can easily fit a pizza cutter, scissors, odd-shaped knives, corn-on-the-cob holders, and grilling forks. Basically, it’s perfect for anything sharp that you want to keep out of your kitchen drawers (…or out of easy reach from little, curious hands).
I hope you enjoyed this tutorial. Please share your own ideas and creations in the comments below. We would love to see what you come up with!
If you found this DIY knife block post helpful, it would mean the world to me if you would share with others on Pinterest:


