I’ve found a really cool way to repurpose old 45 vinyl records into something multi-functional… a DIY lamp with a built-in speaker!
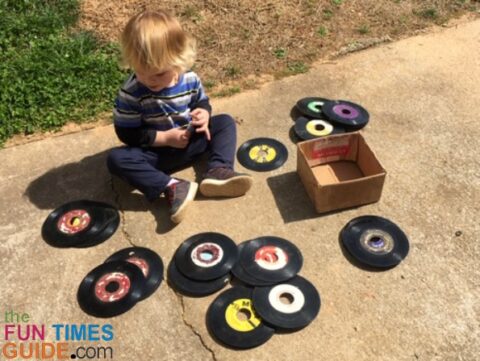
Recently, I bought a lot of vintage vinyl. I was hoping to score some valuable gems — but sadly, my newly acquired record collection produced nothing of any real value except a major obligation.
What do I do now with this huge assortment of super obscure 45 rpm records?
In case you didn’t know…
The most common form of the vinyl single is the 45 or 7-inch. The names are derived from its play speed, 45 rpm, and the standard diameter, 7 inches (18 cm). The 7-inch 45 rpm record was released 31 March 1949 by RCA Victor as a smaller, more durable and higher-fidelity replacement for the 78 rpm shellac discs. Source
I found several people online who are repurposing vinyl records, and their ideas inspired me to give it a try!
Initially, I got my inspiration from this Etsy seller who had a vinyl record lamp posted for sale.
Following are the supplies used to make my own version of this lamp — along with the exact steps I used.
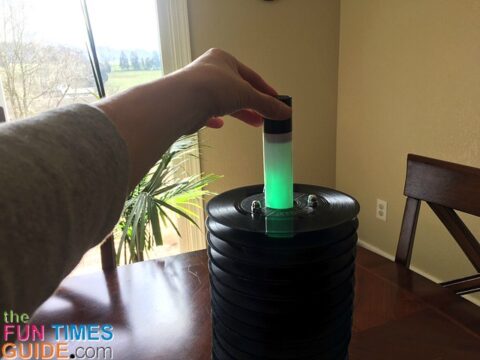
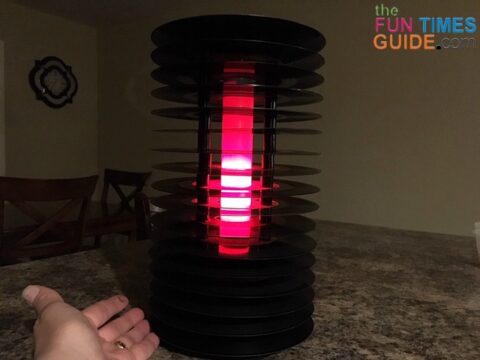
My DIY lamp is actually a color-changing bluetooth speaker lamp!
Materials List
Here’s a list of the supplies I used to make my own wireless speaker glow lamp from 7-inch single vinyl records:
- (25) old vinyl 45s
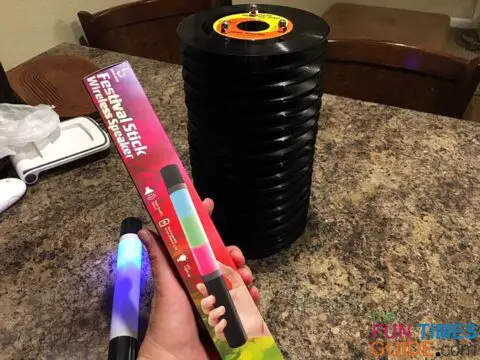
- (1) wireless light-up speaker stick
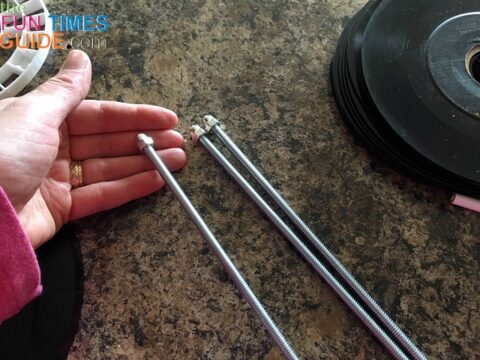
- (3) 12-inch long 1/4-inch wide zinc threaded rods
- (6) 1/4-inch chrome cap nuts
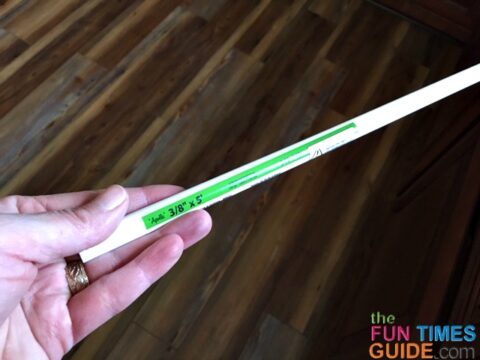
- (1) 3/8-inch x 5-foot pex pipe tubing
- PVC pipe cutters
- Ratcheting bar clamps
- Cordless drill
- 1/4-inch drill bit
- 1/8-inch drill bit
- Black spray paint
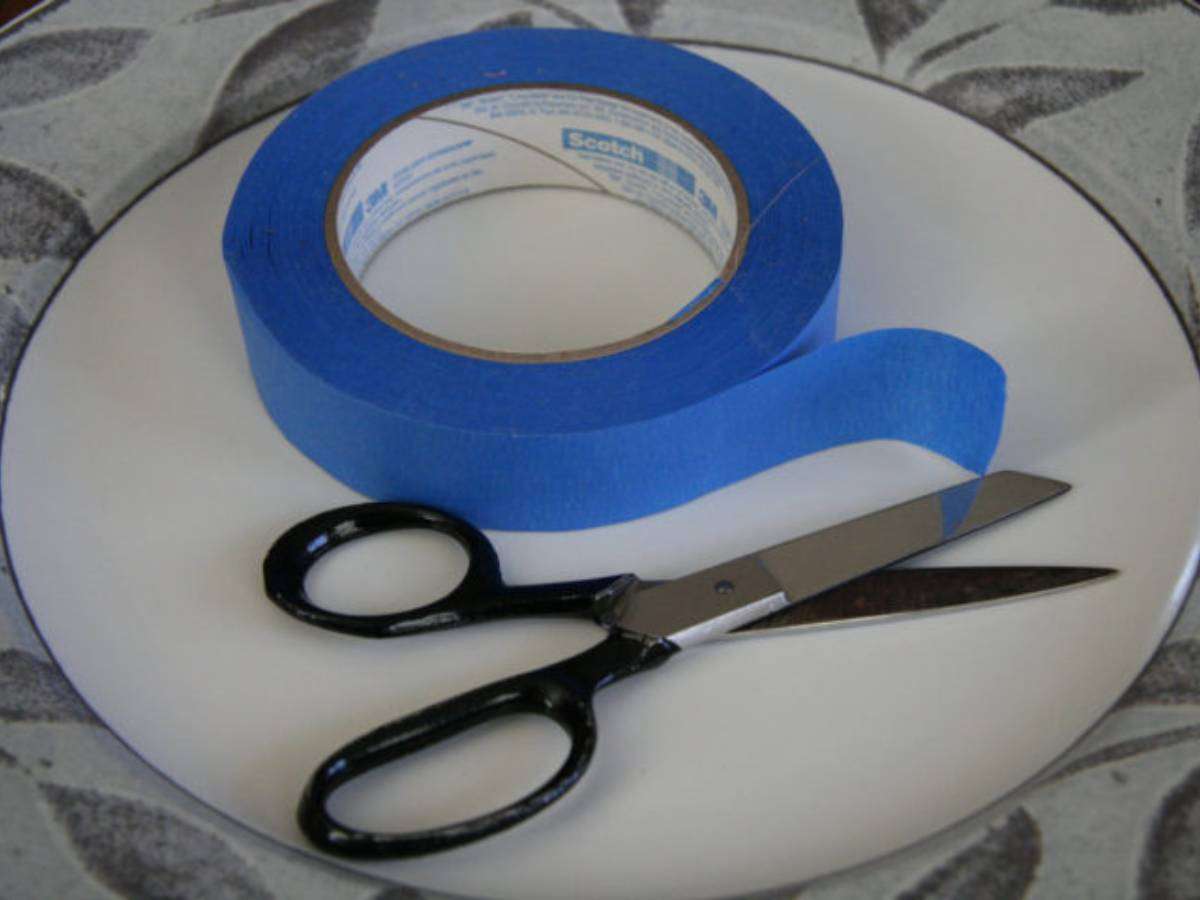
- Blue painter’s tape
- Small flat wrench (optional)
- Duct tape (optional)
Step-By-Step Instructions
Here is how I made this vinyl record wireless speaker glow lamp from scratch:
#1 – I ended up using 25 of the 45 rpm vinyl records in my collection — because that’s how many fit onto the 12-inch long steel rods (with spacers in between each record). I chose the ones that were in the best condition.
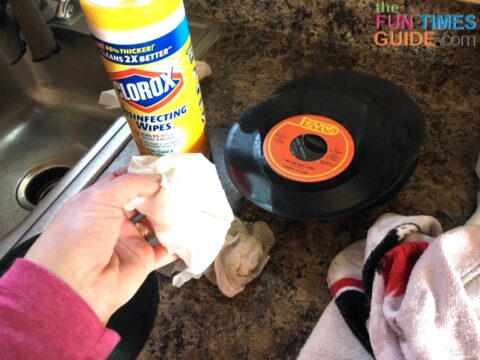
#2 – My 45s had been sitting in storage for decades — so they needed a good cleaning! I wiped each one down with Clorox wipes, and then I dried each one with a soft towel.
NOTE: None of my records were stored in record sleeves, so they were all fair to rough condition. I knew that I wouldn’t be destroying any priceless 45 vinyl records, if you know what I mean.
#3 – I marked a triangle for my 3 drill points — using a plastic grid that I had on hand.
TIP: Next time, I would definitely be more precise in marking out an exact and precise triangle for a much easier fit. My triangle point drill holes were a bit off. As a result, the vinyl records would only slide on one way — meaning the holes had to line up a certain way exactly for each record to fit. I would also space the triangle out more — to broaden the footprint base and make it more stable because of the 12-inch stack.
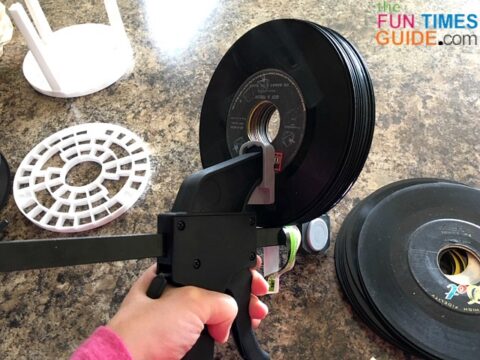
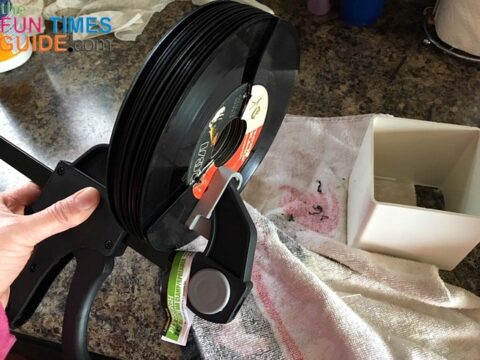
#4 – I split the group of 25 vinyl records in half, creating 2 piles, then put the vinyl record with the drill marks on top of the first pile, straightened the records, and clamped them together in between the drill points — using a ratcheting bar clamp.
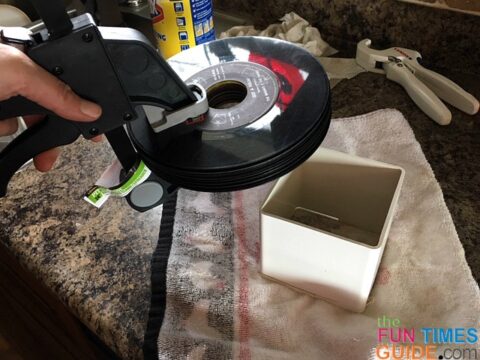
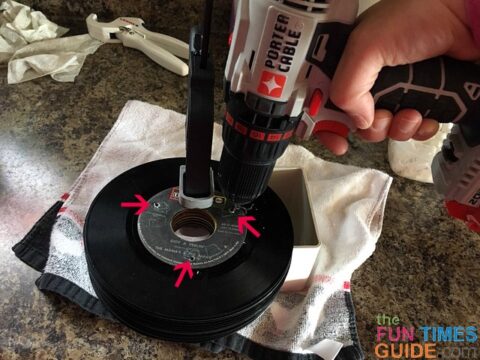
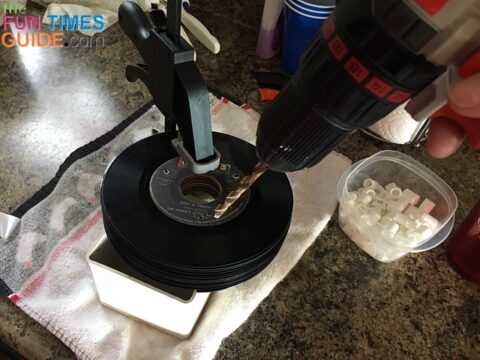
#6 – I placed the stack of records on a scrap piece of square vinyl fence post — so I’d have a good angle for drilling and to prevent damaging the countertop while drilling through the stack of records. Then, I pre-drilled the 3 holes using the 1/8-inch drill bit.
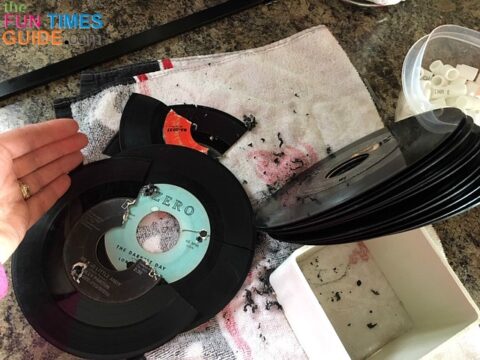
TIP: I ended up with some casualties in the drilling process due to insufficient clamps. Next time, I would use at least 2 clamps on either side of the drill hole to keep the vinyl snug and tight. It was a good thing I had extra 45 vinyl records to start with — so the casualties were not that big of a deal.
#7 – I repeated the process of drilling the 3 holes, this time using the 1/4-inch drill bit.
#8 – I used the top vinyl record with the drill holes as a template to mark the next set of drill holes on the 2nd pile of records. Then, I repeated the pre-drill process with the 1/8-inch drill bit, and the final drill process with the 1/4-inch drill bit.
#9 – After all the vinyl records were drilled, I cleaned up and removed any vinyl debris or rough edges and set them aside.
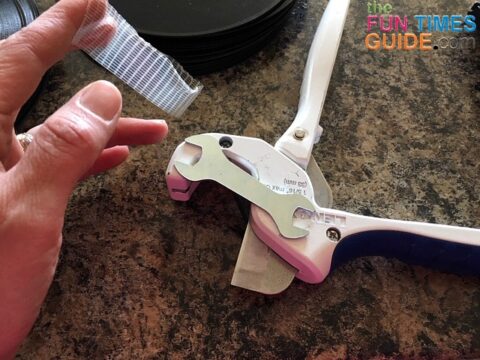
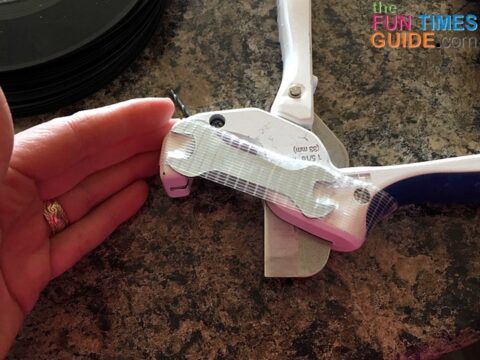
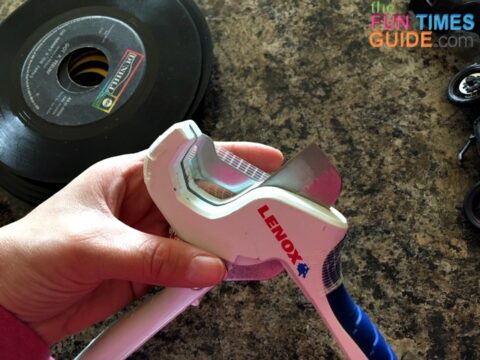
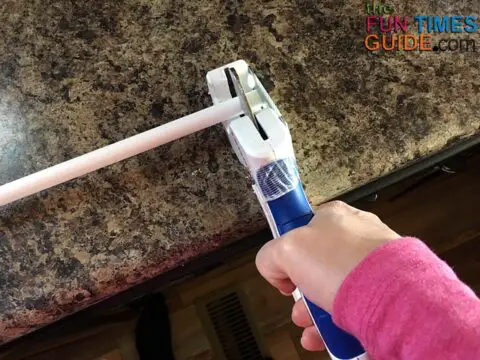
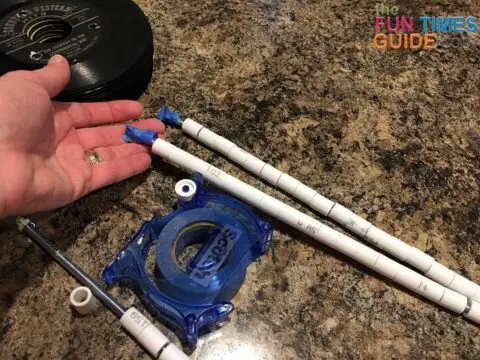
#10 – To create a uniform cut in the pex pipe tubing for the spacers, I set up a jig directly on the PVC pipe cutters — using a small flat wrench and some duct tape. This allowed me to set the edge of the tubing flush to the wrench, cut the piece, and move on to the next without having to think about if the pieces were even.
#11 – I cut out 72 spacers from pex pipe and placed them into a dish.
TIP: I should have spray painted the tubing black before I cut (…but I still wasn’t sure my theory would work at this point).
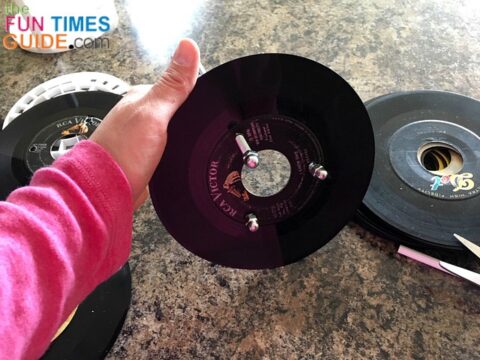
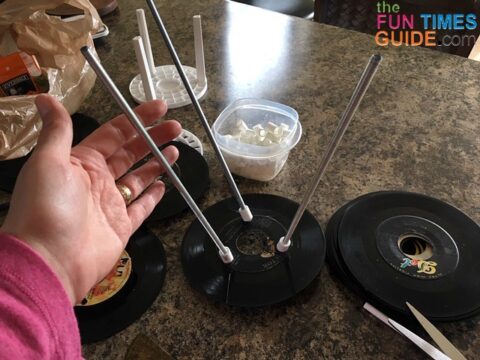
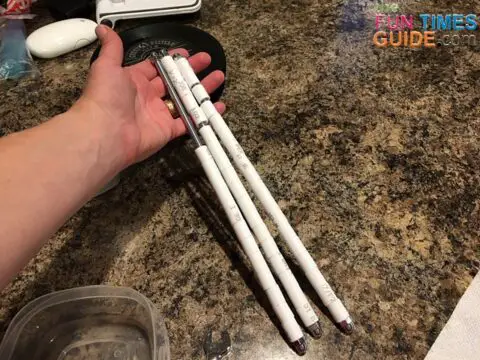
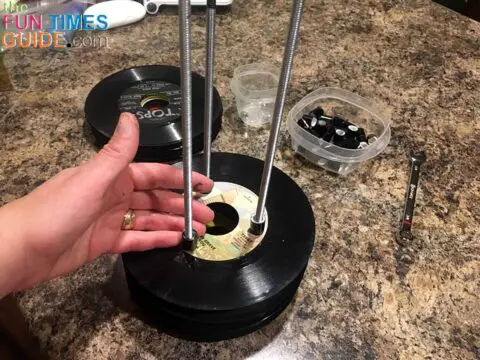
#12 – I placed 1 cap nut on each of the steel rods and then proceeded to push the rods through the holes in the first vinyl record.
#13 – Once the first vinyl record was on all the way to the end of the cap nuts, I placed 1 spacer on each of the 3 rods on top of the first record.
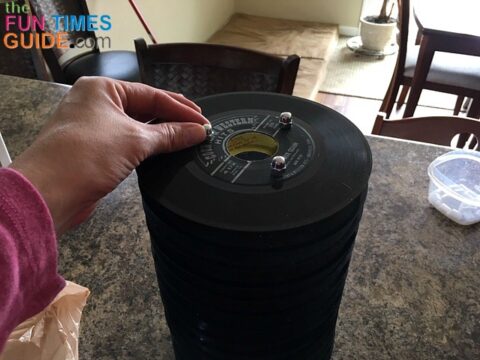
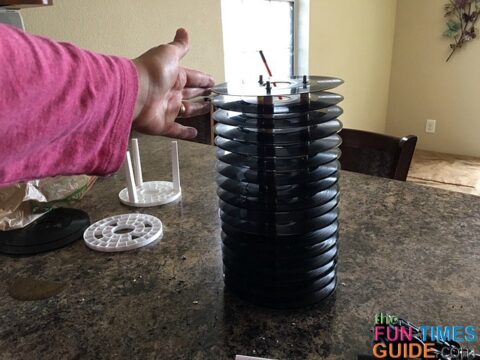
#14 – I proceeded this same process with the second vinyl record, and so on — repeating the process with each of the spacers until the last (25th) record at the end of the rods. After placing the final cap nuts on the 3 rods, my vinyl structure turned out just as expected!
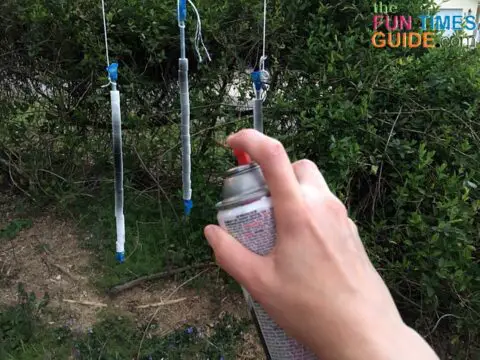
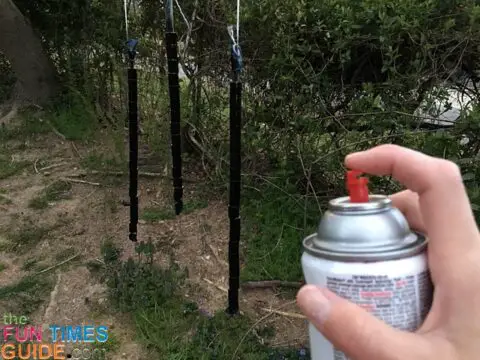
#15 – As stated in Step #11 above, I didn’t pre-paint my pex pipe tube spacers — so I had to disassemble the structure to paint the spacers black. After I disassembled it (carefully placing each record in the exact position for replacement), I placed all of the spacers back on the rods for easy painting.
TIP: I used the cap nuts at each end of the rods — to keep the spacers from falling off of them. I also covered the cap nuts with blue painter’s tape to avoid overspray from the paint. I hung the rods from a tree (using some twine) so I could spray paint them evenly all at once.
#16 – Once the spacers were dry, I reassembled the vinyl structure — just like I did in Step #13.
NOTE: There was a bit of wet paint that worked its way in between each spacer during the painting process. This is yet another reason that I would recommend painting the entire tube first and then cutting the spacers after the paint is dry.
#17 – I opened up the new wireless light-up speaker stick, turned it on, and paired my phone with it via Bluetooth.
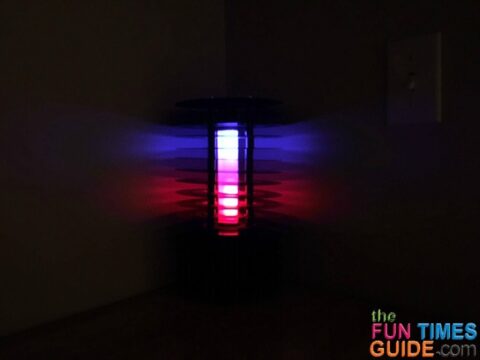
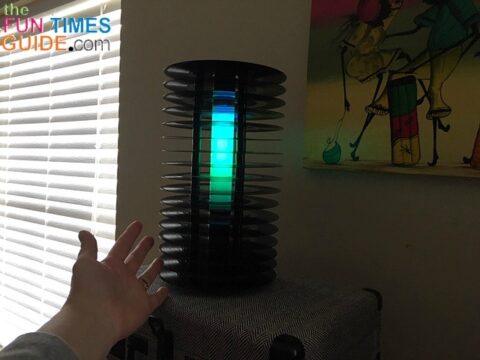
NOTE: This little wireless speaker stick is only $5, but it has a lot of great features that work perfectly in this application! It has cool color changing LED lights. There’s a speaker on both ends that produces a decent quality sound. It’s wonderfully portable via Bluetooth wireless. It has a rechargeable battery (li-ion 3.7v), and the USB cable is included.
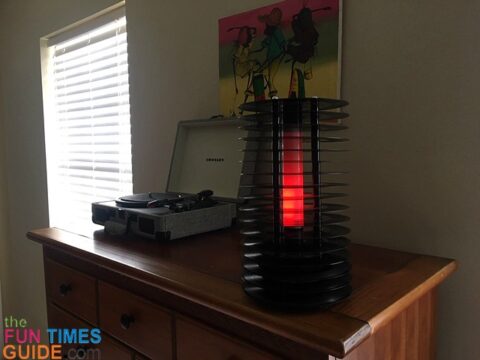
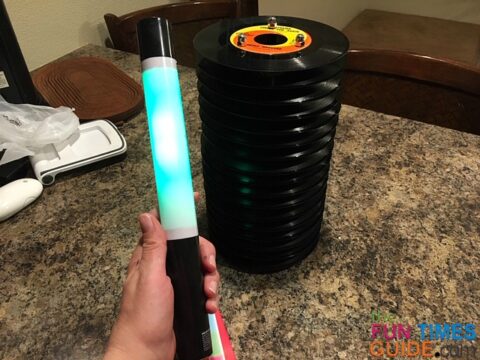
#18 – I inserted the light-up speaker stick into the center hole of the records. And voila… I had a nostalgic wireless speaker glow lamp made from vinyl 45 records!
The Bottom Line
I love how this DIY lamp created using old 45 vinyl records turned out!
The hardware, pipe, and speaker ended up costing around $15. I had all of the other items on hand — so it was a fun and inexpensive DIY project. (Honestly, it was just silly luck to find the glow stick speaker at 5 Below and have it fit perfectly.)
This Bluetooth speaker lamp is a really neat piece of home decor. It’s portable and perfect for use anywhere inside or outside the home — whenever we want to listen to music with some ambient lighting without having to worry about a power source.
I hope this tutorial inspires you to breathe new life into old 45 vinyl records — or any old objects that you may have lying around!

