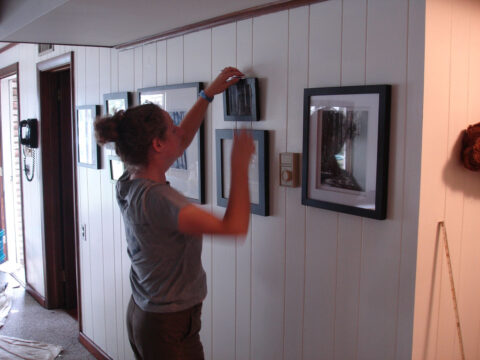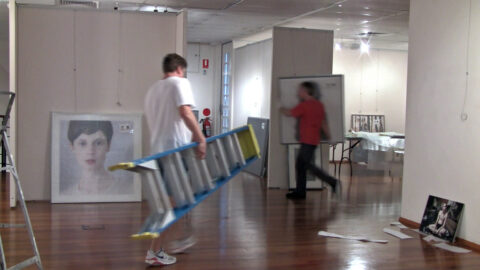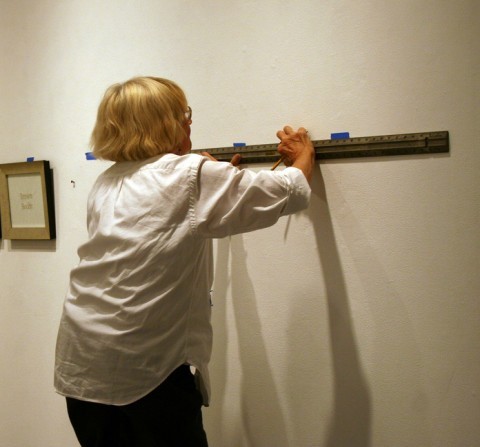
If you’re like me, then making sure that all pictures hang straight on the wall is a huge deal.
I hate it when I hang pictures only to spend forever adjusting and re-adjusting them in an attempt to get them all to hang just right.
Following are the best picture hanging tips you should use every time you hang new photos on your wall…
#1 – Pictures should be hung at eye level — not too high, not too low. With that in mind, here are some picture hanging spacing tips to keep in mind:
- Pictures should be hung approximately 60 inches from the floor.
- Leave at least a 3-inch to 6-inch gap between the top of your sofa and the bottom of the picture frame.
- Leave between 4 to 8 inches from a table top to the bottom of the photo frame.
In rooms with standard 8-foot high ceilings, most artwork should be hung so that the middle of the picture is approximately 5 feet (60 inches) off the floor. For rooms with higher ceilings, artwork can be hung a little higher — which will visually lower the ceiling height. Source
#2 – To determine the number of hooks you need on the back of your frame (and where to put them) follow these rules:
- For pictures under 30 inches, you only need 1 proper weight hook placed at the center.
- For pictures over 30 inches (and those that have glass) use 2 hooks.
Mark the center (or quarters, if over 30″) with a pencil. Make a short (1/2″) horizontal pencil line across and then a short (1/2″) vertical line down so that you have made an upside down ‘T’. If over 30 inches, then you need to make 2 marks as this is where you will hang both hooks. Source
#3 – Arguably, the best wall anchor is the Monkey Hook (also known as a Hercules Hook). It’s a heavy-duty wall hanger that’s simply a curved spring steel wire. It can be inserted in the wall without tools in a matter of seconds. Plus, it can hold some really heavy pictures & pieces of artwork — up to 40 pounds! If there’s a stud or other obstruction in the wall monkey hooks won’t work. In that case, try one of these other picture hangers:
- Museum-Quality Professional Picture Hanging Pieces With Nails
- Hooks & Fasteners For Home Decorating Kit
- Sawtooth Picture Hanging Hooks
- Hercules Hooks With Laser Wall Marker
https://www.youtube.com/watch?v=tb2Df-sULFU
#4 – Before you hang pictures in a grouping, make a template of each picture first by tracing around the outside of the frame on paper, cutting out the shape, and labeling it. (Use thicker paper like butcher paper, or kraft paper, or old brown paper bags.) Be sure to draw an arrow on the paper to indicate whether the it should be hung vertically or horizontally. Next, secure the templates to your wall with a reusable adhesive. It won’t tear pieces from the wall or your paper patterns. Measure the spot on each frame where the nail will hang, and mark that spot on your paper template as well — so you’ll know exactly where to place the nail.
#5 – When you have a large empty wall space and only 2 small pictures to place there, hang both pictures side by side. Then, hang a long and skinny basket beneath the pictures filled with small potted plants or artificial flowers.
#6 – Straight lines matter. The eye craves symmetry, so try to hang your pictures such that they form at least 1 horizontal line and 1 vertical line.
#7 – Find a common element in groups of pictures that you plan to hang together. This can be a theme, colors, or even a particular style.
If you cannot find a common element, then work on finding other pictures that you can group together that do have a common element. That said, don’t overlook the importance of “surprise” pieces (like masks, fans, hats) within a grouping of photos.
#8 – Be careful about how many pictures you hang up. Resist the urge to put every picture you own on every piece of blank wall space. This will give your walls a cluttered look — which is not at all what you are aiming for. Instead, go around your home and determine which walls could benefit from having a picture (or 2 or 3) on them.
#9 – Use a level to make sure your pictures are hanging evenly and not crookedly. Other handy picture hanging tools worth considering include:
- Hang & Level Picture Hanging Tool (here’s how to do it)
- Stanley Laser Level Square
- Black & Decker Auto Leveling Laser & Stud Sensor
Here are some tips for hanging a picture that has a wire hanger on the back of it:
https://www.youtube.com/watch?v=jzOtWHhHSy8
More Great Tips For Hanging Pictures With Ease
- Video: Where & How To Hang Pictures Creatively
- A Guide To Using Wall Fasteners To Hang Pictures
- How To Use A Can Tab As A Picture Hanger
- Hang Pictures The Cheap & Easy Way… In A Line (more details here)
- Tips For Hanging Mirrors & Pictures
- Video Playlist: How To Hang A Pictures & Art On Your Walls
- How To Hang Large, Heavy Pictures
- Use 57 Inches As The Center For All Your Photos
- How To Hang Pictures Without Destroying Your Walls
- Decorating Secrets: Picture Hanging Tips
- Video: How To Attach Picture Hanging Wire To A Frame
- How To Hang A Frame Using With Hooks (alternative method here)

