I love this time of year when everything is blooming and vibrant with color. The days are longer with a warm, breezy sunshine that beckons us to spend more time outside.
I came across this idea for a trampoline saucer swing on YouTube:
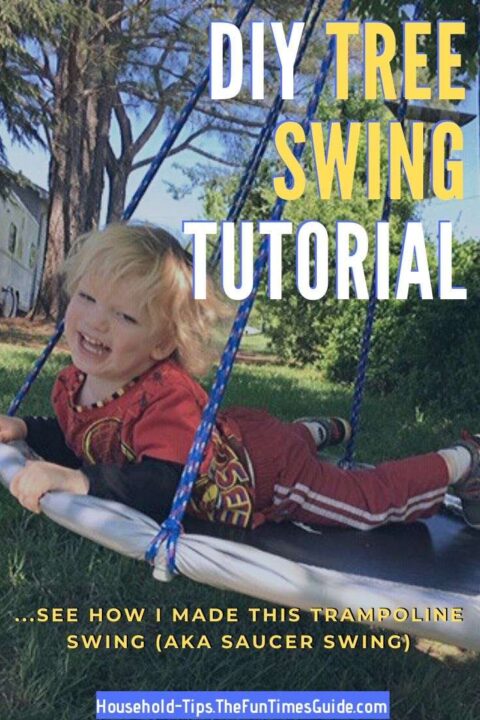
I made one for my son on a smaller scale, using a 36-inch fitness trampoline!


Our nest swing doesn’t have all of the pretty pillows and shaggy throws though.
Don’t get me wrong… I’d love to have our trampoline swing look pretty. But I know my son. He is all boy, and he would have it covered in mud as soon as I set it up!
So, here’s how I made this saucer swing that hangs from a tree in our backyard…
Our Backyard Space
My goal was to build:
- A low-lying saucer swing that my 2-year-old son could easily climb on when playing in the backyard
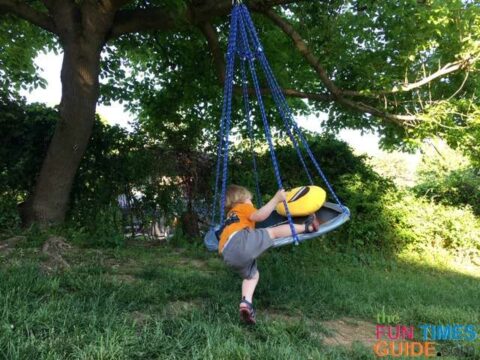
- A backyard swing that I wouldn’t have to worry about how to keep clean
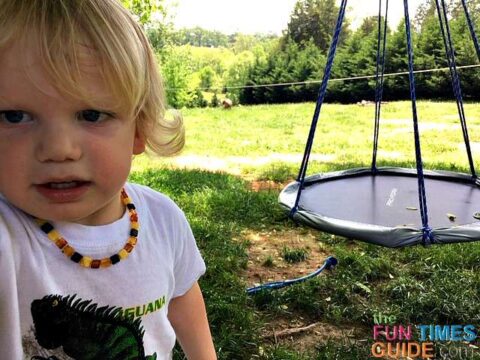
We happen to have a couple trees in our backyard that are perfectly shaded and can easily support a trampoline swing.
We initially had a removable hammock there, but my son isn’t quite capable of climbing up on it to swing just yet.
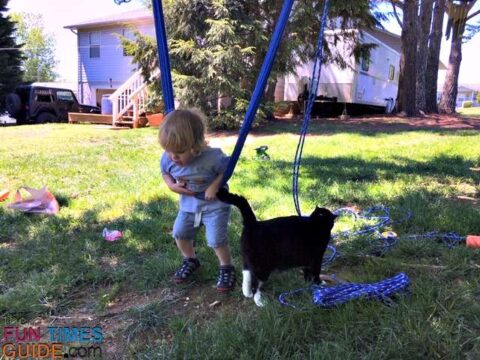
So I built my son his own saucer swing!
Materials Needed For This DIY Tree Swing
Here are the supplies I used to build a nest swing for our backyard:
- 1 Fitness trampoline (I used this one that supports up to 250 lbs: Stamina 36-inch folding trampoline. It’s perfect because it folds up easily for easy off-season storage. I found mine at Bargain Hunt for $18, but it’s also available on Amazon. See my tips for choosing a trampoline for a DIY nest swing below.)
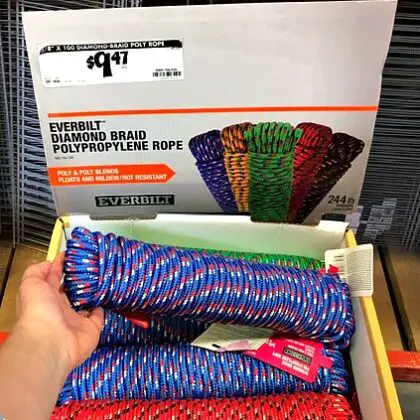
- Polypropylene diamond braided nylon rope (100 feet, holds 244 lbs.)
- Scissors (to cut rope lengths)
- Lighter (to melt rope ends and keep them from fraying)
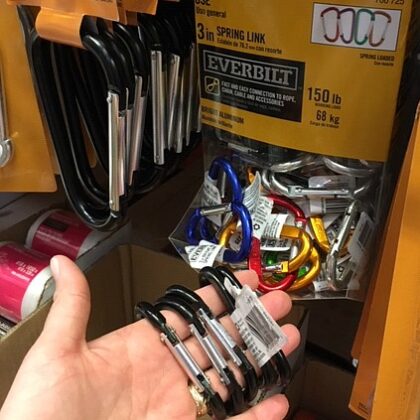
- 3 Carabiners (3-inch, with 150 lbs. weight capacity)
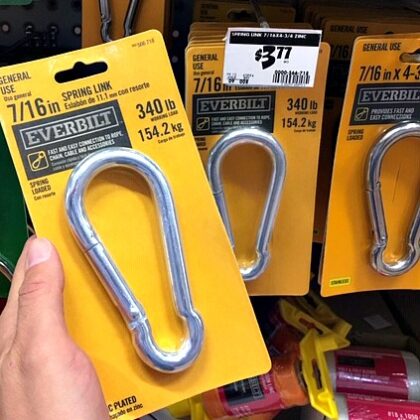
- 1 Spring link (7/16-inch, with 340 lbs. load limit )
- 1 eye and eye Swivel hook (1/4-inch, with 850 lbs. load limit)
- 2 Hammock straps (I used these outdoor tree straps with 40 loops combined 20 feet long, 1400 lbs. breaking strength)
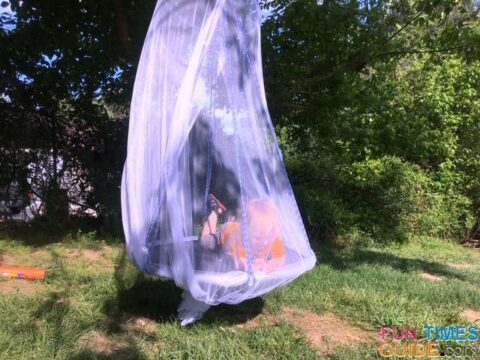
- OPTIONAL: 1 Canopy netting (a bed canopy net can be used to create a cabana-like feel, or to make your child a fort using the saucer swing)

DIY Saucer Swing Instructions
These are the steps I used to make our trampoline swing:
- I determined where I wanted the saucer swing to hang from a tree in our yard — but, ultimately, I designed it so it can be set up on any tree in any location.
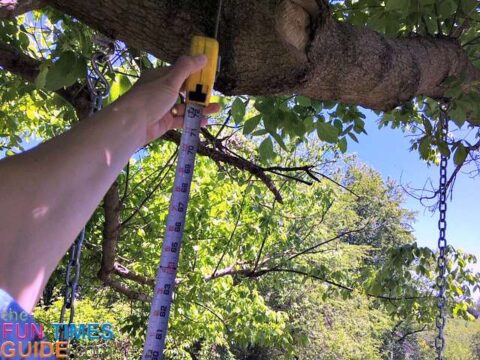
TIP: Before selecting an overhanging tree branch for your trampoline swing, please read these tips regarding tree swing safety and tree selection.
- I cut 6 rope lengths at approximately 14 feet long each (a total of 84 feet), and then held a lighter close to the ends — so they would harden as they melted, keeping the ends from fraying over time.
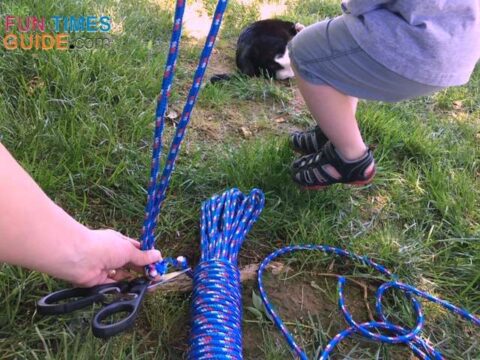
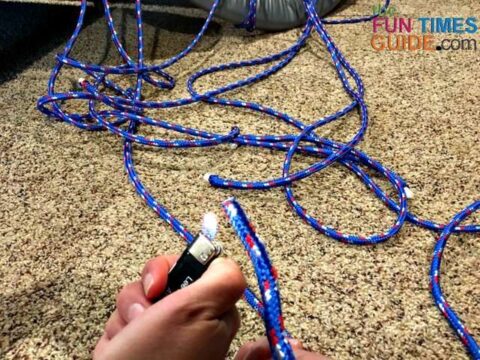
NOTE: Each rope length would ultimately result in less than half that length — after doubling up the rope and adding some adjustable knots.
- I assembled the trampoline by unfolding it and placing the pins to lock it in place. (I decided to use the included border safety pad for extra protection from the aluminum frame. I did not attach the trampoline legs.)
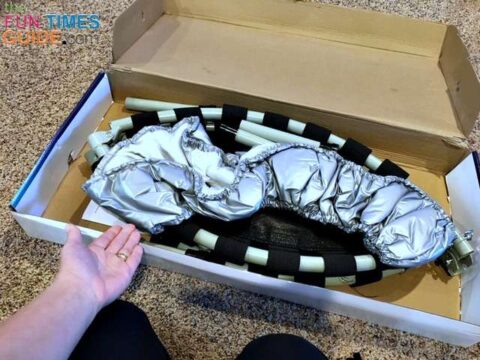
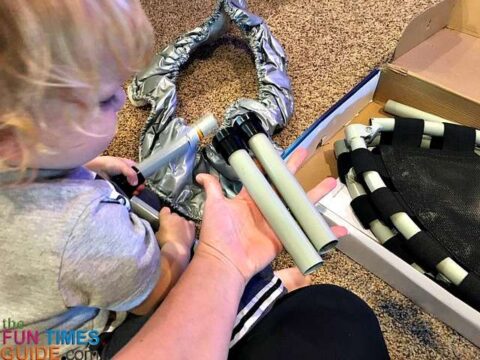
- I doubled each rope to loop it through itself around all 6 of the trampoline frame’s leg stumps (to keep the ropes securely in place).

- On the split end of the rope, I tied 2 adjustable knots — so the length could easily be adjusted, yet would still support the weight without ever sliding out of adjustment. (Basically, the adjustable knot attaches 2 ends of rope or 2 separate ropes together — which allows the rope to easily be adjusted from short to long, without requiring any additional hardware. Here’s how to do an adjustable knot.)
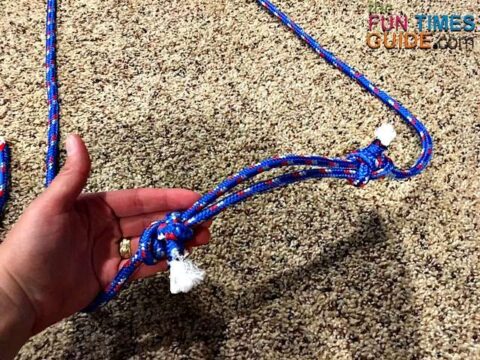
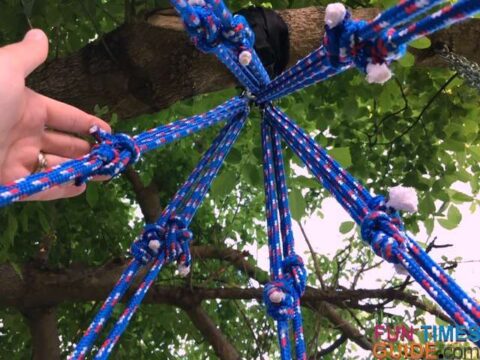
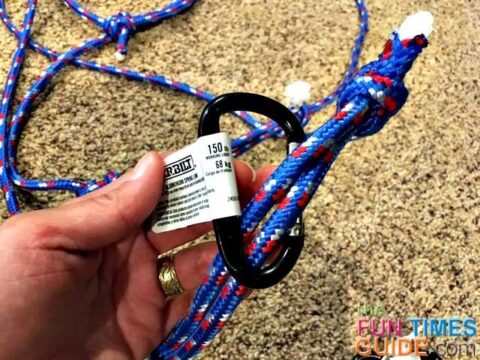
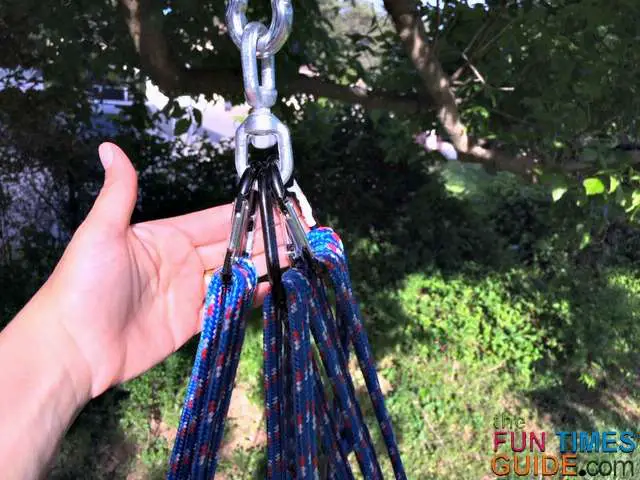
- I attached one 150-lb. rated carabiner to every 2 of the 6 supporting ropes.
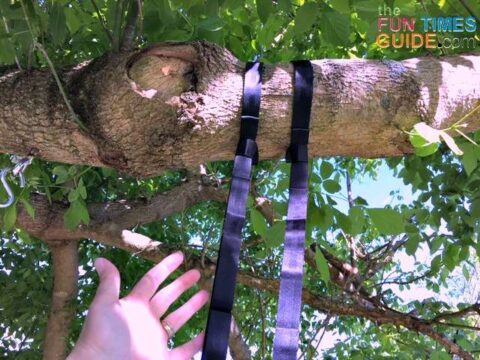
- I looped 2 hammock straps to the tree branch and secured the excess slack out of the way.
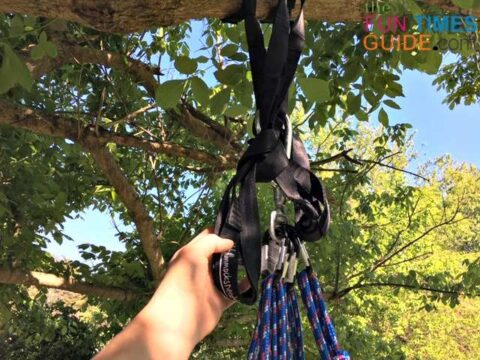
- I attached the 850-lb. rated swivel hook to the heavy-duty 340-lb. rated spring link, then attached the spring link to the 2 hammock straps.
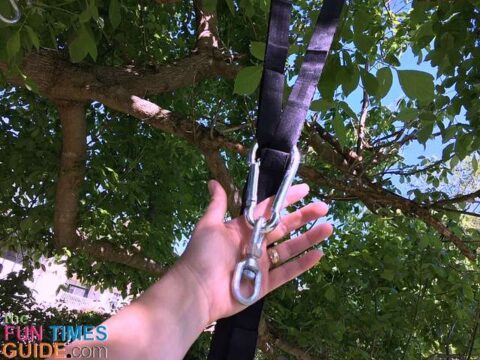
- I attached the 6 ropes with 3 carabiners (2 ropes per carabiner) to the bottom side of the swivel hook.
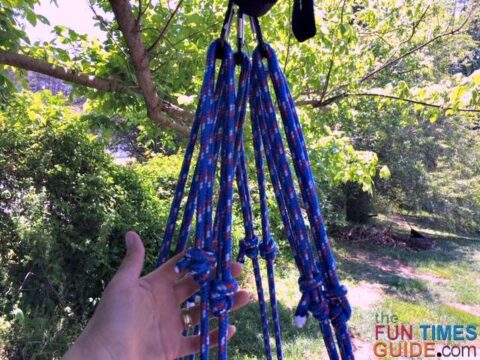
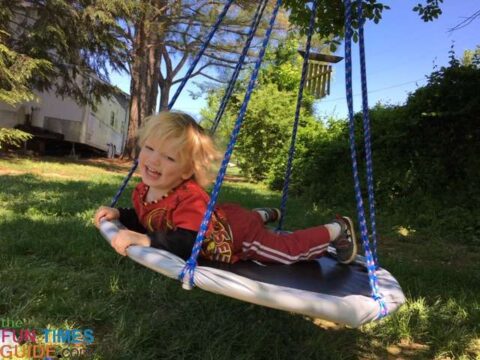
- I gave the swing a quick safety check to ensure it supported my weight. I then allowed my son to try it — once I knew it was safe.
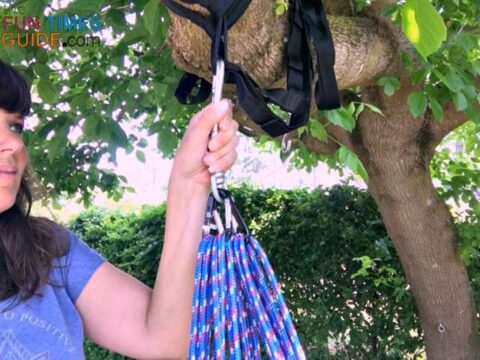
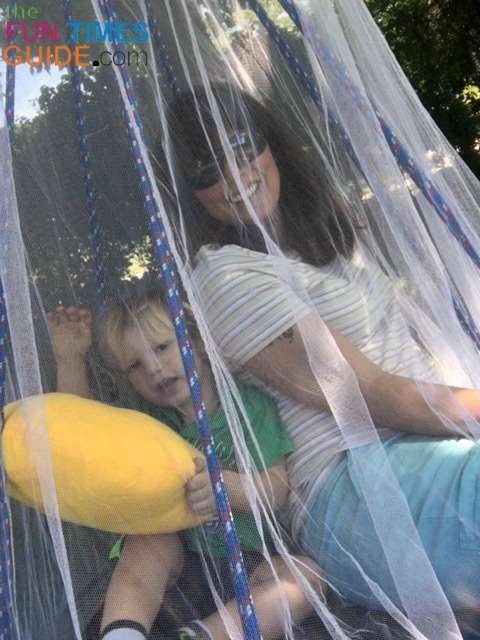
- I added a bed canopy to our DIY tree swing for a cabana-like feel. It can be easily attached and detached simply by slipping it through the main heavy-duty spring link that’s attached to the hammock straps. (Sometimes we use the canopy and sometimes we don’t.)
The Cost Of This DIY Project
I’m really happy with the results of this trampoline swing!
I ended up spending approximately $50 — which is getting up there in the price point of a similar saucer swing that may or may not include the hardware.
However, if you already have a fitness trampoline collecting dust, then you could definitely save money by using it to make your own budget-friendly saucer swing.


To justify my cost for this DIY project, I look at the positive:
- I can still use the trampoline as it was intended — simply by removing the ropes and attaching the legs. This would give us yet another activity to do outside or inside.
- My DIY saucer swing is super versatile — because it folds up and can technically be set up anywhere that will support it (including between two trees).
- It only takes a few minutes to set up, once you’ve done all of the initial rope set-up. (I generally only take it down when the forecast calls for rain.)
- This DIY tree swing is easy to clean with a simple wipe down.
- My son and I have already enjoyed hours together swinging and hanging out on it.
What’s Next?… A Larger Saucer Swing!
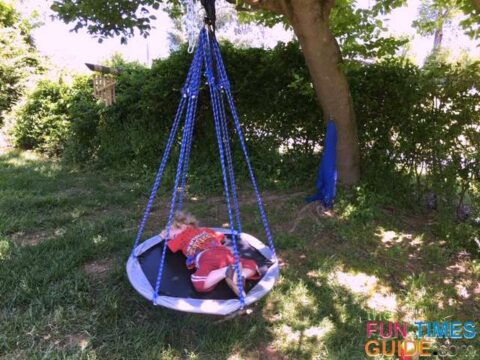
I realized quickly after spending some time on this DIY trampoline swing, that the 36-inch platform is perfect for the 2 of us swinging together — but it’s just not big enough for both of us to lounge together on it.
Even though it’s the perfect size for my son, he often wants me to be on the swing with him.
Of course, I can get creative and curl up with him in our nest swing, but it simply isn’t big enough for extended siestas together.
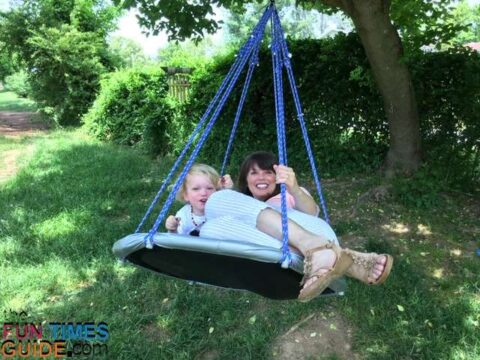
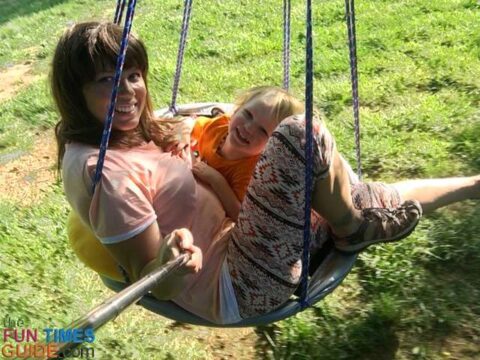
This DIY experiment has enforced that fact that I want to add a large nest swing daybed to our backyard space — one that we can both rest comfortably on. The combination of swinging, a warm breeze, and wonderful outdoor sounds would make a large saucer swing daybed the most perfect place to relax and play (or doze off for an afternoon nap).
I decided to order a hanging daybed swing from Amazon. I’ll let you know how it works out — as it has mixed reviews, but it looks to be the perfect size at 56 inches round.
UPDATE: Here’s my review of the Sorbus hammock swing.
I’ve thought about using a bigger trampoline to make another large saucer swing — but I worry that even at the 8-foot size, it would be too big and cumbersome for storage in the off season.
Regardless of which size trampoline you ultimately decide to use for your DIY tree swing, here are my tips for choosing a trampoline:
- Make sure the trampoline legs can be detached while keeping the circle frame intact — sometimes the legs are a direct part of what holds the frame together.
- Use a trampoline without springs — so you won’t have to worry about pinched skin or fingers.
- A trampoline larger than 36 inches would definitely be better — if adults plan to use the saucer swing.
The Bottom Line…
I hope you’ve found this DIY tree swing tutorial helpful.
If you decide to repurpose an old trampoline to make a saucer swing, let me know how yours turns out!
As with anything, please exercise proper supervision when swinging with your little ones.
Happy Summer Swinging!
Like this post? Save it to read again later… or share with others on Pinterest!
