Moving soon? I’m going to show you how to pack your computer properly — so:
- It won’t get damaged during the move
- If it does get damaged, you won’t be left without a computer and your important files
- You will be able to quickly reconnect your computer correctly at its new location
When I moved from Portland to Seattle, this was my main concern — because my computer represented a good portion of my livelihood. Without it, I was not only out a computer, but out of money as well!
So I went the extra length to make sure my computer was packed just right.
In the process, I learned some great tips from people who pack computers for a living!
Here are my most helpful tips for pack up a computer in preparation for moving…
How To Pack A Computer
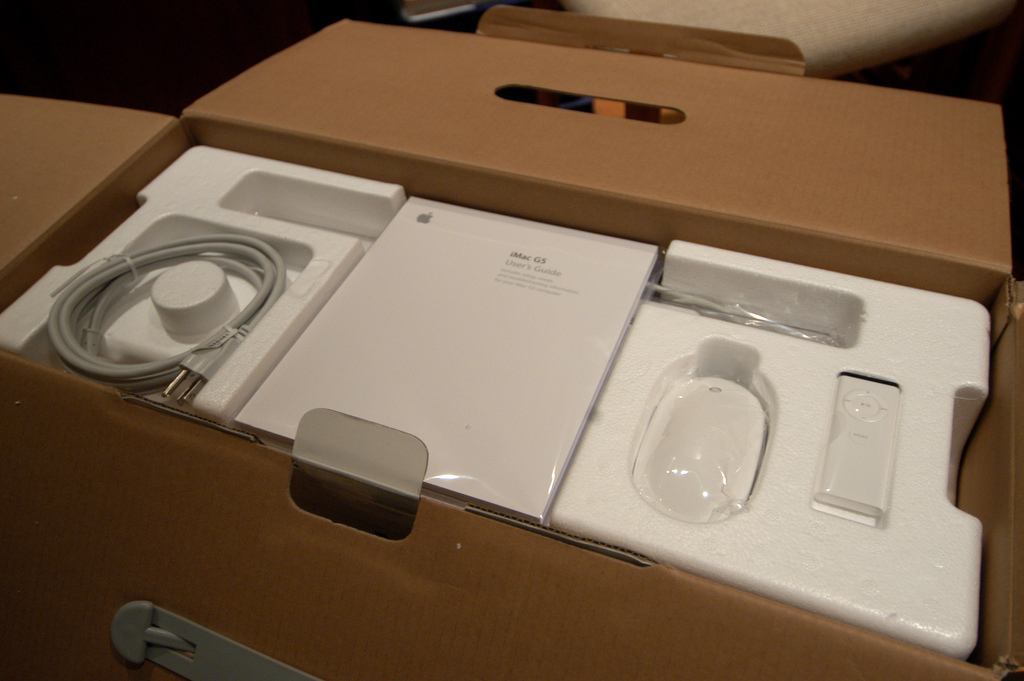
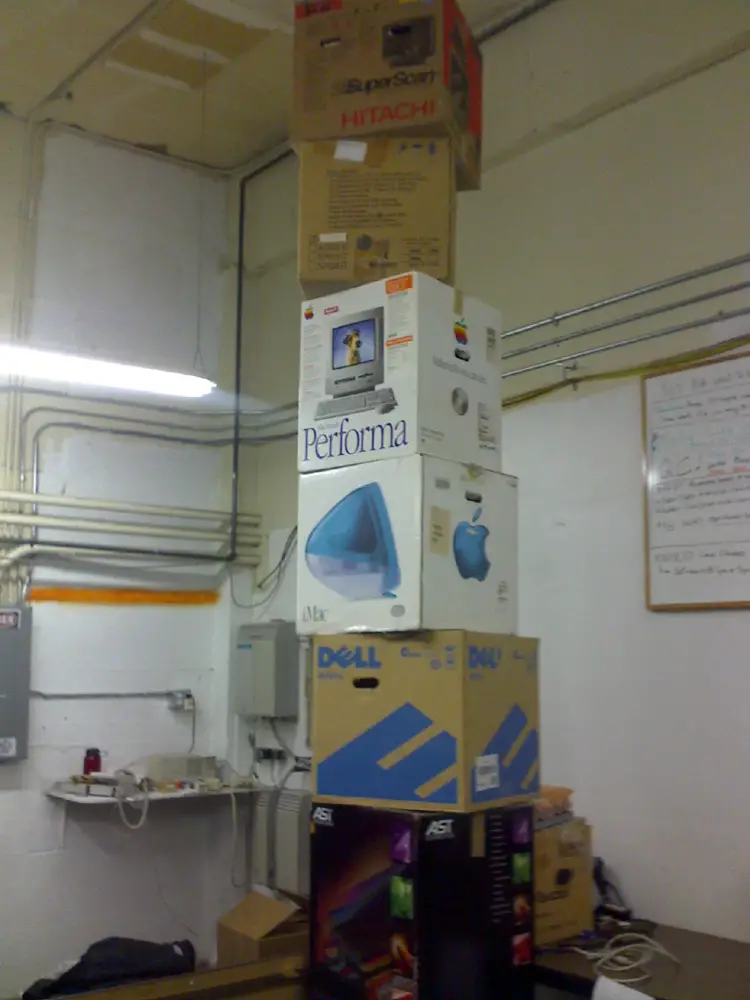
#1 – If possible, use the box that your computer came in to pack your computer for moving.
By using the same boxes with the same packing materials, you will ensure that your computer will be in the safest possible position throughout the move — from pickup to transport to delivery.
TIP: You can never be too careful when you packing a computer in a box.
#2 – If you don’t have the original box that your computer came in, then get a computer packing kit.
Computer packing kits come with all the appropriate materials to securely pack up a computer.
TIP: You could also use any old box — but if you’re using a moving company, I strongly recommend using a true computer box instead.
#3 – Before putting your computer in the box, back-up all your files.
You can use an external hard drive, a flash drive, or DVDs to backup your computer. Do this first — before you even think of disconnecting the power cord on your computer. That way, if your computer is somehow damaged in such a way that the files are gone forever, you still have a way to access those files!
TIP: Keep your flash drives and DVDs with computer data on them with you during the entire moving process. Do not put them on the moving truck.
#4 – Allow your computer to cool off completely before you start to disconnect all the cords and pack it up.
As long as your computer is no longer warm, then there’s no chance for any of the plastic packing materials (even bubble wrap) to melt into or onto your computer.
TIP: Be sure to take pictures showing how your computer cords are connected — so you can hook them up exactly the same way again!
#5 – Disconnect all of the cables (including the power cord) — and organize them neatly.
This will make it much easier for you to reconnect your computer later.
TIP: Color code all of the cords and wires — so you will know exactly where they go when it comes time to reconnect the computer. Also, wrap all computer cords together using rubber bands or cable ties before packing them away inside the box. Or place the individual cords in separate plastic baggies — which you can label.
#6 – Add extra bubble wrap around your hard drive or computer tower.
Bubble wrap provides extra insurance that your computer won’t get damaged during the move. Yes, even if you have the original packing materials that your computer came it, add bubble wrap to fill in all of the empty spaces inside the box.
TIP: You could also use several layers of thick, crumpled paper to create a cushion.
#7 – Keep all computer accessories together in the same box — also wrapped in in bubble wrap.
This includes computer speakers, a wireless keyboard, wireless mouse, webcam, modem, router, etc. That way, you will have everything that goes with your computer together — and it will be quick and easy to set up your computer at your new location.
TIP: Depending on the packing box(es) you’ve decided to use, the computer monitor may be in one box, the hard drive or tower in another box, and all computer accessories in yet another box. Or, you may be able to fit everything into one large box.
#8 – Insure your computer with the moving company.
If the moving company will only insure your computer by the pound and your computer weighs (say, 60 pounds), then you’re only going to get $25 or so if it gets damaged. If that’s the case, then consider shipping your computer instead — and buy insurance that way.
TIP: Obviously, if you’ll be moving your computer from one location to the next yourself, then insurance is not an issue.
#9 – A computer should always remain upright or on its side (with the motherboard side on the bottom) during the move.
When loading and unloading the computer, make sure that your computer box doesn’t get turned upside down — to avoid damaging the all-important motherboard. It’s the brain of your computer, so you want to take extra precaution here!
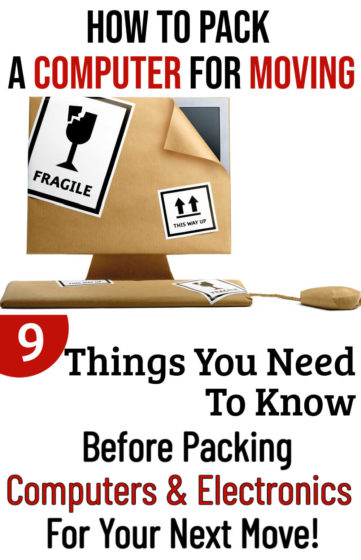
TIP: Be sure to mark the box “THIS SIDE UP” using arrows as well. And try to ensure that nothing heavy get stacked on top of it.
The Bottom Line
Ideally, your computer should be one of the last things you pack up before moving and one of the first things you unpack after arriving at your new place.
Keep in mind that a computer has fragile electronics inside and is therefore susceptible to the weather — especially humidity and extremely hot or extremely cold conditions. And, if you’re going to keep your computer in a storage facility for any length of time, make sure that it’s a climate-controlled unit!
In the end, how well you prepare and pack your computer for moving will play a big role in your productivity after moving — especially if you use your computer to earn money and/or organize your life.
While you’re in the process of packing your computer for a move, you can use any leftover packing materials to take extra precautions when packing the following electronic items as well:
- Printers
- TVs
- iPads and tablets
- Cameras
- Digital photo frames
- Stereo systems
- DVD players
- Scanners/copiers
- Kitchen appliances
Like this post? Save it to read again later… or share with others on Pinterest!

