At our house, we are always looking for ways to improve how things look and function in our home, yard, and garage spaces.
Whenever I’m in need of a DIY solution at home, I spend my sleepless nights scouring Pinterest and Google to get inspiration from everyone else’s great ideas.
One of our latest home projects was finding a way to have an organized workspace in the basement / garage while utilizing what we already had to work with.
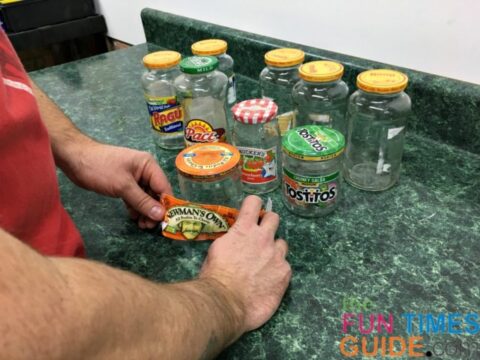
We have a tendency to hoard items that we know we can repurpose one day — so we had quite a collection of glass jars.
I mean, what else are you supposed to do with all of those glass jars which used to contain spaghetti sauce, olives, salsa, etc. when recycling isn’t the norm? (Meaning, we have been without recycling services in the past few places we’ve lived.)
So we decided to repurpose our collection of glass jars and organize our workspace at the same time!
The source of this creative and brilliant storage hack was not Pinterest, however. It is my father-in-law who gets all the credit.
If you were to walk into his workshop, you would be amazed at the level of organization, cleanliness, and functionality. Every tool and every single item including nuts, screws, widgets, thingamajigs, whatnots, and doodads — all have a place and a purpose.
My father-in-law has been helping us with our home improvement projects since we took possession of our home. (Here’s one example: our DIY laundry room makeover.)
Our DIY Shelf Organizer Using Glass Jars
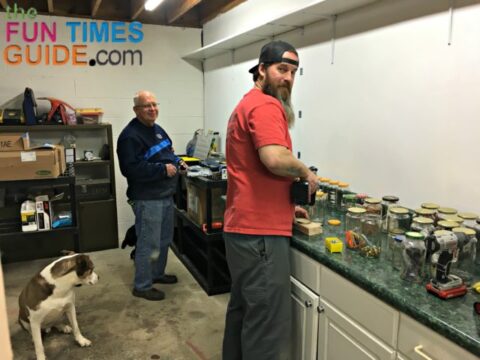
Our goal was to create a clear, defined workspace for projects in our walk-out basement / garage area.
We wanted this space to include:
- a workbench with cabinets
- some drawers
- a countertop
- a tool wall
- a top shelf to store & organize our collection of nuts, screws, widgets and various doodads
Here’s how we built our glass jar shelf organizer…
How To Build A Shelf Organizer Using Glass Jars And Lids
Materials needed:
Shelf – We chose a thermally fused laminate shelving board because it is already pre-finished in a smooth white and will wipe clean in the workspace
Shelf brackets – We used a few white stainless steel shelf brackets to secure the shelf in place onto the wall.
Glass jars – We had various sizes of glass jars with lids. (It’s good to have various sizes — because sometimes you may only have a few tiny widgets in a single jar.)
TIP: If you pre-soak soak the glass jars in water, it will be easier to remove any labels. You can also scrub the glue with a scouring pad or use an adhesive removal product like Goof Off for visually clean storage jars. Screws to mount shelf brackets.
Screws to mount jar lids – Be sure to use shorter screws than the width of the shelf, so you don’t have screws poking through the top!
Step-by-step instructions:
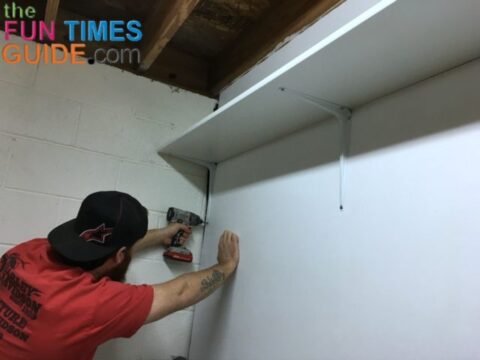
- First, install the shelf using shelf mounting brackets. (Or use an existing overhead shelf or cabinet which has plenty of room below it.) TIP: Make sure that you drill into the studs — in order to support the weight of the jars.
- Use a scrap piece of wood — such as a piece of 2×4 — and place the lid of one jar flat side on the wood. Then pre-drill 3 small holes in a triangle shape into the to the outer edges of the jar lid. TIP: You want the holes as close to the outer edge as possible, for better stability.
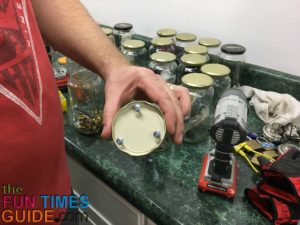
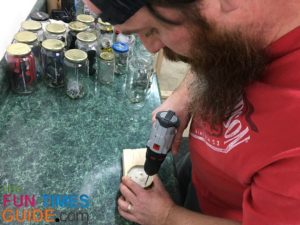
- Have 3 screws ready per lid, decide where you want to start your row of storage jars, then screw a lid into place. (We placed ours close to the front edge of the shelf for optimum visibility and reach.) TIP: Make sure to leave enough room in between the jars — so you can easily unscrew them from the lids.
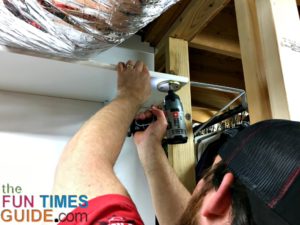
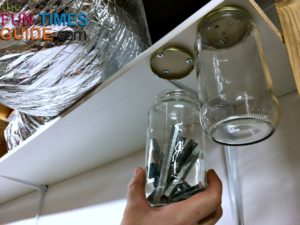
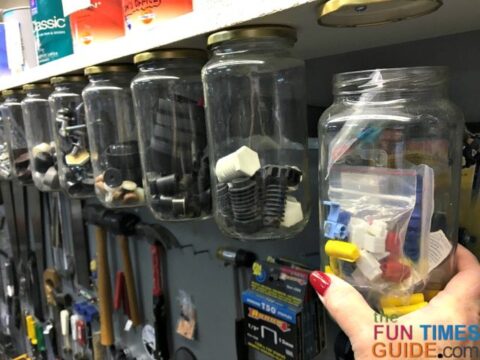
- Place the small items you want to store in the jar and screw the jar onto the lid.
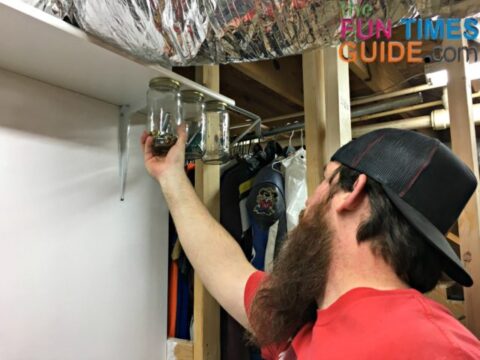
- Repeat steps 2 through 4 until you run out of jars… or shelf space.
How To Use Your DIY Shelf Organizer
You will be surprised how many widgets you’ll be able to find homes (jars) for!
We use our jars to consolidate items such as screws, nails, picture hanging items, staples, shoe strings, etc. You know, all of those small items which you know you will need at some point, but have no idea what to do with them or can never find when you do need them.
This DIY shelf organizer with glass jars makes it easy to find those items quickly when you need them!
Our basement is in the middle of a remodel, so we haven’t completely finished our glass jar storage shelf yet. But as you can see in these pictures, we’ve definitely gotten the project started and are well on our way to getting the basement organized!
One of the ways I try to stay better organized is to question every item in our home and yard space which I come in contact with. I basically got the idea from a quote from William Morris:
Have nothing in your house that you do not know to be useful or believe to be beautiful. Source
I’m pretty liberal on how I interpret it — but after moving 3 times in 1 year, I realized how much stuff we’ve actually been hoarding. Some of it needs to go, and some of it just needs to be organized.
I hope you’ve found some inspiration from our DIY glass jar storage solution!
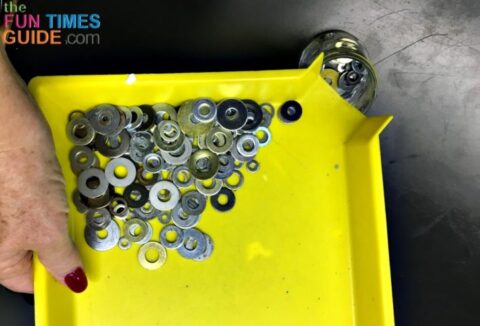
TIP: When you need to use one single item from a jar of many widgets, dump the contents of your glass jar into an easy sorter funnel tray. That way you can easily find the specific size, shape, color, etc. you are looking for. Then dump your contents back into the jar when finished, and screw the jar back in place!

