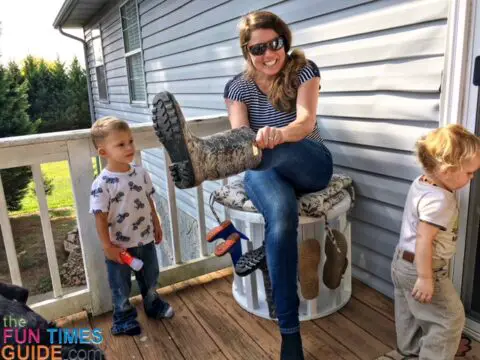
It’s rubber boot season again… time to create a space for hanging boots to dry!
I’ve decided to be creative with my resources by using mostly items that I already had on hand.
See how I made this outdoor boot rack / bench out of a $5 wooden spool, some scrap wood, and paint…
My Solution For Keeping Boots Outside Without Getting Water Inside Them
My son and I spend quite a bit of time outside in our backyard with our 2 dogs and 2 cats. We live on half an acre — which offers a lot of trees for privacy and the ability for us to play in almost the entire space of our backyard.
Playing outside sometimes involves my son getting muddy — especially in the spring, the fall, or after a rainstorm. So rubber boots are the standard issue for both of us.
I really needed a solution to store our boots because our main access to the house when playing in the backyard is off the back porch — through a sliding glass door into the eat-in kitchen. It’s bad enough that I have dog beds near the kitchen table to quarantine them when they have muddy paws. So keeping boots where we eat, too, simply wasn’t an option. I certainly don’t want to look at any additional clutter.
No, our yard boots & shoes need to stay outside. But I had to find a way to keep the rain from getting inside them.
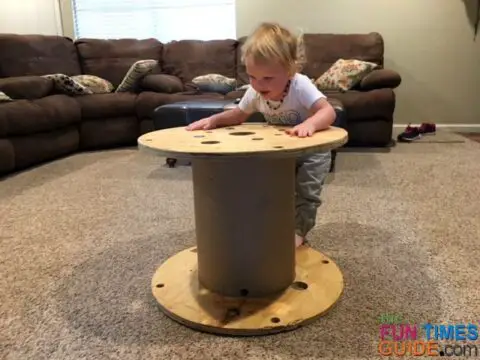
I came across a $5 spool on Facebook Marketplace, and it gave me an idea to convert it into something useful on our back deck.
Here are 13 wooden spool DIY ideas.
As it turned out, a wooden spool is the perfect height (17 inches) to serve as a place to sit while getting our boots on.
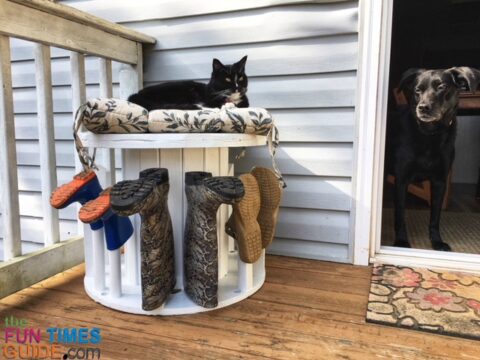
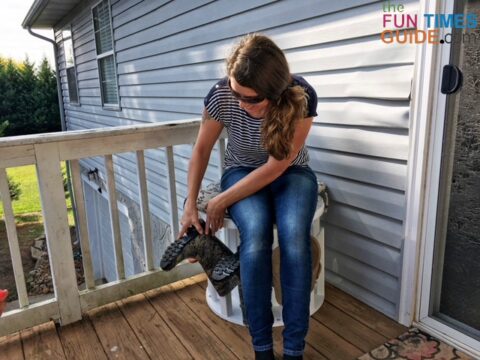
All I had to do to turn this spool into a dual-purpose seat bench and boot rack was to add some vertical wood pieces for the boots to rest upside down!
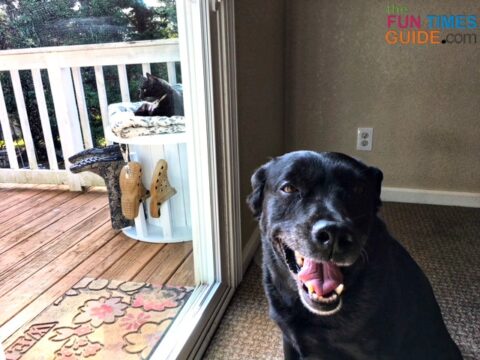
My DIY boot rack seat fits nicely beside our sliding glass door for easy access:
Supplies Needed For This DIY Boot Rack / Bench
Here is a list of supplies I used for the project.
(I had everything on hand already — so my only expense was the $5 spool and my time.)
- Wooden spool – 4 places to find large wooden spools for DIY projects
- 1 x 3 x 8 Furring strips wood scraps
- 2 x 2 x 8 Scraps of wood
- 2-inch Dowel rods
- Drywall screws
- Cordless drill with Phillips head
- Wood filler
- Putty knife
- Sanding block (100 grit fine)
- Paint and primer (exterior, white)
- Paint brush
- Jig saw
- Compound miter saw
How To Make A Boot Rack / Bench
These are the steps I followed to turn a large wooden spool into an outdoor bench and boot rack:
- First, I looked for the right size spool. The one I got was $5 on Facebook Marketplace, and it was the perfect size & height for this project! It was solid in construction with the center support consisting of 4 steel rods — so I knew it would be strong enough to sit on. The downfall was it also had a compressed cardboard center tube, which I would have to cover with wood pieces since it was going to be an outdoor bench exposed to the elements.
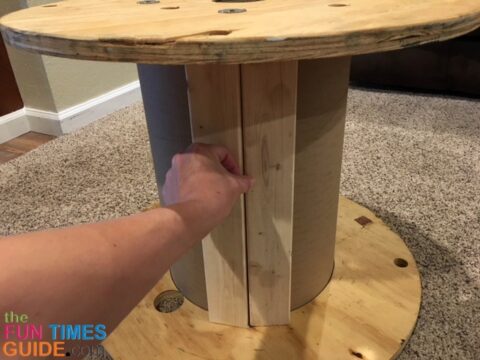
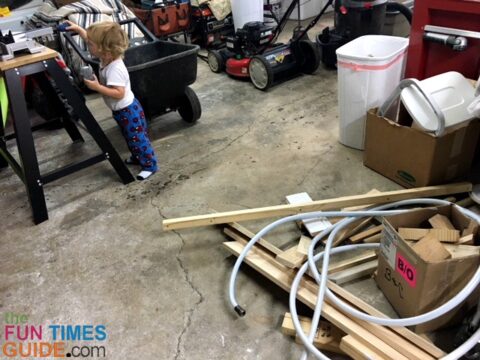
- I measured the height of the center tube and proceeded to cut pieces out of some scrap wood pieces (formerly a 1 x 3 x 8). I used a miter saw to cut the pieces.
- I placed the 1 x 3 cut pieces vertically against the cardboard tube and screwed them in place from the top and bottom of the spool — until the entire cardboard surface was covered.
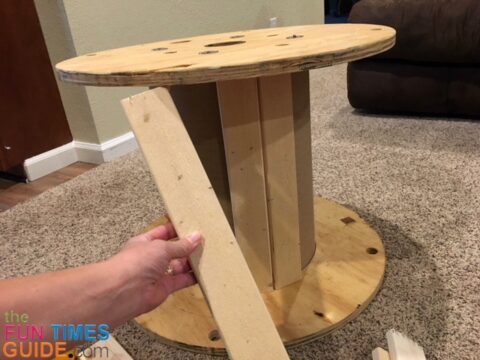
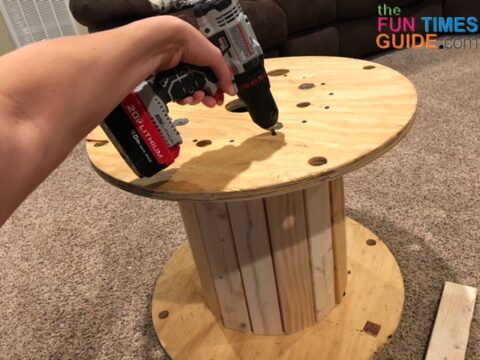
- I determined what length of wood I would need for the vertical rod pieces — which would hold the boots. Basically, I measured the length of a boot from heel to the top. Then, I cut my pieces accordingly using the 2 x 2 scrap wood pieces and a couple of 2-inch scrap dowels.
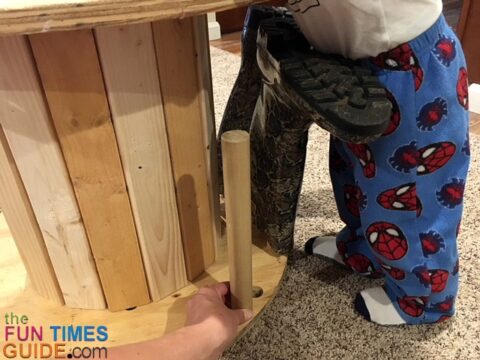
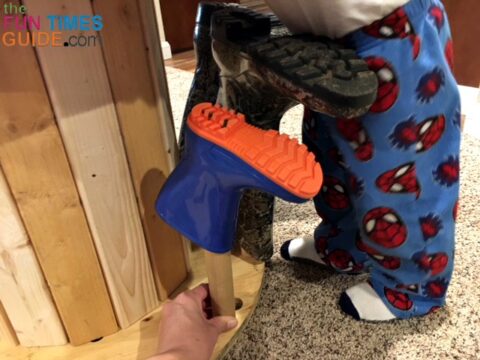
- I also cut a 45-degree angle in the tops of the 2 x 2 pieces, placing the angle on the inside to give a little more room for the boot to slide on — in between the rod and bottom of bench. There wasn’t much room for clearance within the 17 inches of space vs. the height of an average rubber boot.
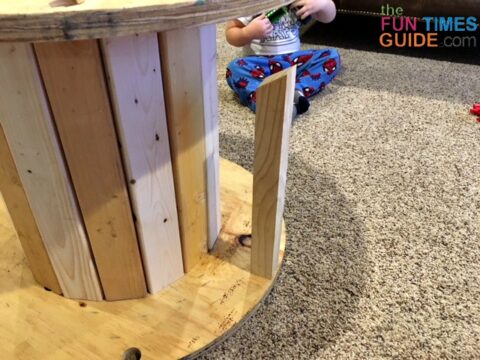
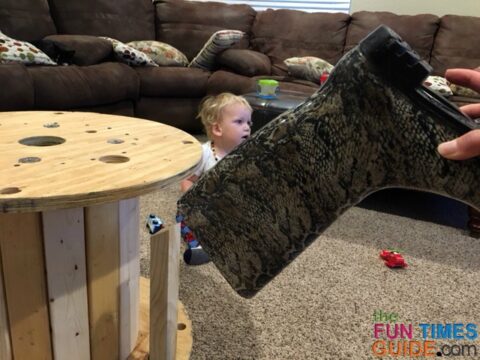
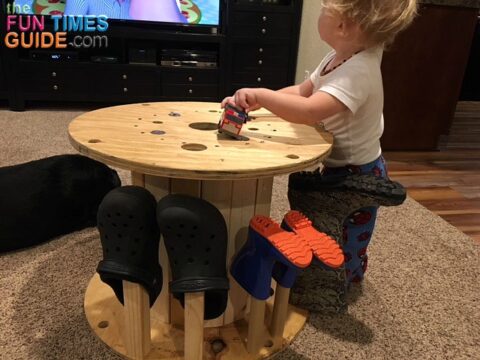
- I cut several 2 x 2 posts of varying lengths to accommodate my boots, my sons boots, my husband’s boots, a couple pairs of crocks, and other outdoor shoes. As a starting point, I placed one 2 x 2 wood post flush with the edge of the base of the spool and screwed it in from the bottom using long screws. I basically eyeballed the next rod by placing a boot on the anchored rod and holding the matching boot where I thought I would like it placed. From there, I repeated the process until I had enough rods to hold 5 pairs of boots/shoes. It ended up being approximately 6 inches apart per matching rod and 7 inches for the start of the next pair.
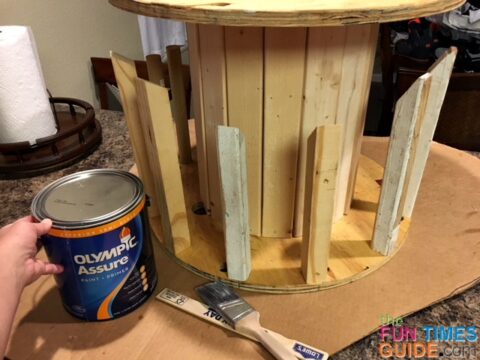
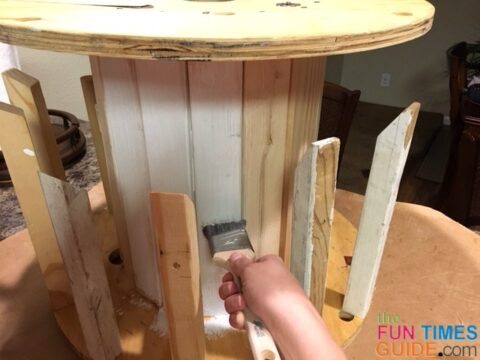
- I started the first coat of paint using an exterior white, still not knowing how I was going to complete the top of this DIY boot rack / bench.
- After a couple of days of having it sit on my kitchen counter partially painted, I decided to use more of the scrap wood (which was already cut into smaller pieces) on the top as well. I placed the pieces how I thought they would best lay out, knowing that I could clean up the edges with a jig saw and some sanding. I was ok with it being sort of primitive looking — because I knew it would end up being covered with a cushion and the cats would be laying on it.
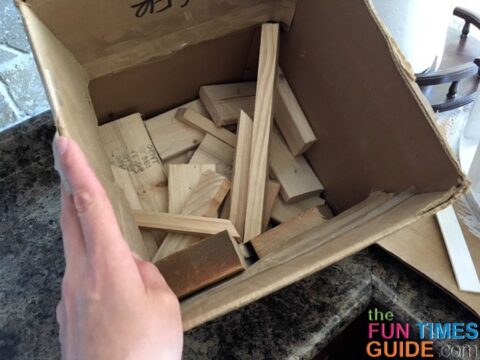

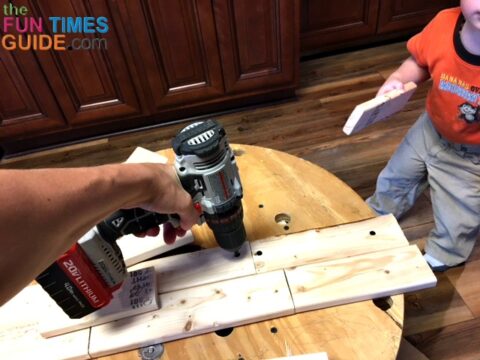
- After I determined where the small wood pieces would lay, I screwed them in place.
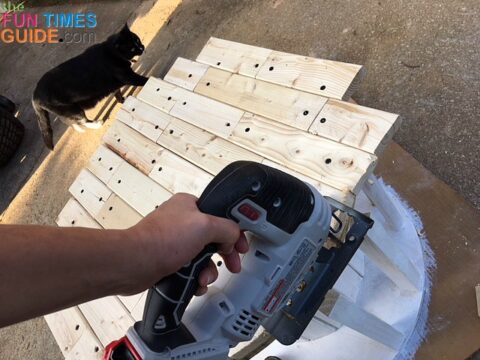
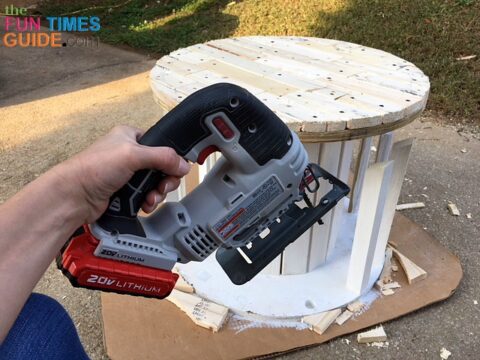
- I used the jig saw to cut the edges off — staying uniform to the round spool edge.
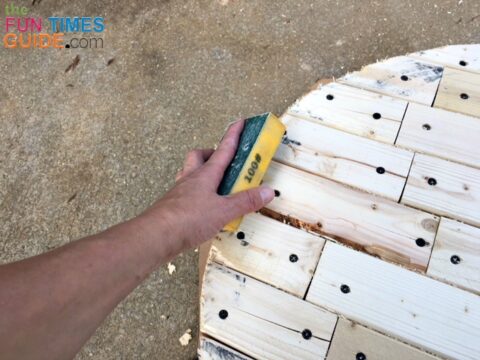
- I used wood filler for the screw holes, but not the cracks.
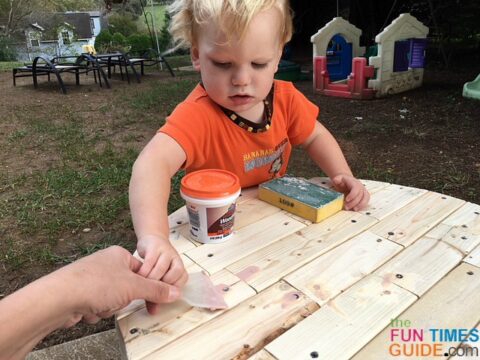
- I gave it a quick sand — to smooth out any rough edges and splinters.
- From there, I proceeded to finish the first coat of paint over the entire surface. Then I painted a second coat — and after it dried, added an outdoor seat cushion on top!
The Bottom Line…
I really love DIY projects, and wish I could do them with a little more focus and attention to detail. But these days, with a very active toddler, it’s a wonder I even completed this project.
I’m pretty happy with the results and the boot rack/bench certainly serves its purpose.
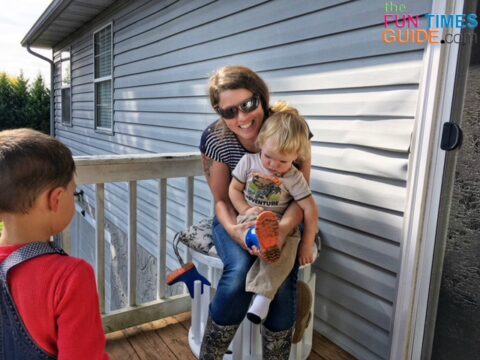
Now I have a bench to sit on when putting on and taking off our boots — plus boot storage, which also keeps the rain out of the insides!
It is the perfect size and allows for easy in & out access next to our sliding door.
The extra vertical rods are super helpful for hanging my son’s muddy clothes on too — when I strip him down at the door.
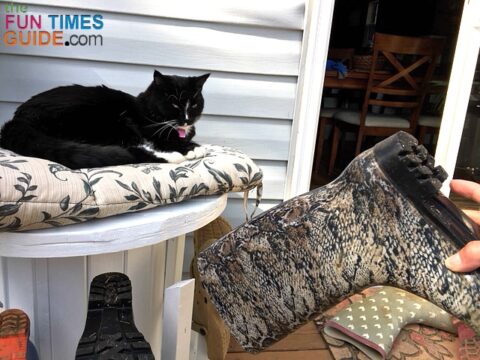
And of course, as I predicted… the cats love their new perch I built for them.

