Preparing for a yard sale is definitely a process.
But how in the world do you start?
First, here are the Top 10 Reasons To Have A Garage Sale:
- To earn extra money
- To make room for new stuff
- To prepare for a move
- Because it’s fun
- To teach your kids about work
- To turn the “junk room” into a ___ room
- Because your teen doesn’t play with Strawberry Shortcake anymore
- To do some Spring cleaning
- It’s Step 5 in the “Packrats Anonymous 12-Step Program”
- To achieve family goals
#1 – Start Early
I usually start about 2 months ahead of time. That way, I can leisurely put together everything I want to sell in my next yard sale.
That said, for my most recent yard sale, I only had 2 weeks — because I decided at the last minute to have my sale on the same day as our Neighborhood Yard Sale. This meant I would benefit from their marketing in the local newspaper, local signs, word-of-mouth, etc.
For the most part, whenever I’m preparing for a yard sale, I’m also doing a bit of spring cleaning by purging all items that we no longer use.
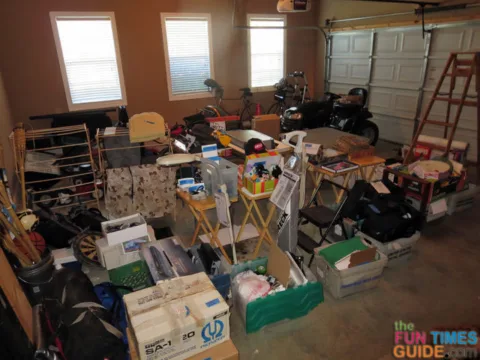
I group items together by “theme” in a spare bedroom (and/or the garage). And in the weeks leading up to my yard sale, I start pricing the items and printing out all my signs. Yes, way ahead of time!
Planning and preparation is the key to a successful yard sale — in my opinion.
Here’s how to do it…
#2 – Gather Up All Of The Items You Plan To Sell
Start by going room by room throughout your house looking for items that you no longer want or use.
The familiar adage is, if you haven’t used it for a year, get rid of it… If you are renting a storage locker to keep your overflow possessions, why? Do you really need all that stuff? Why pay to store it when you could make some spare cash instead? — J.E. Davidson
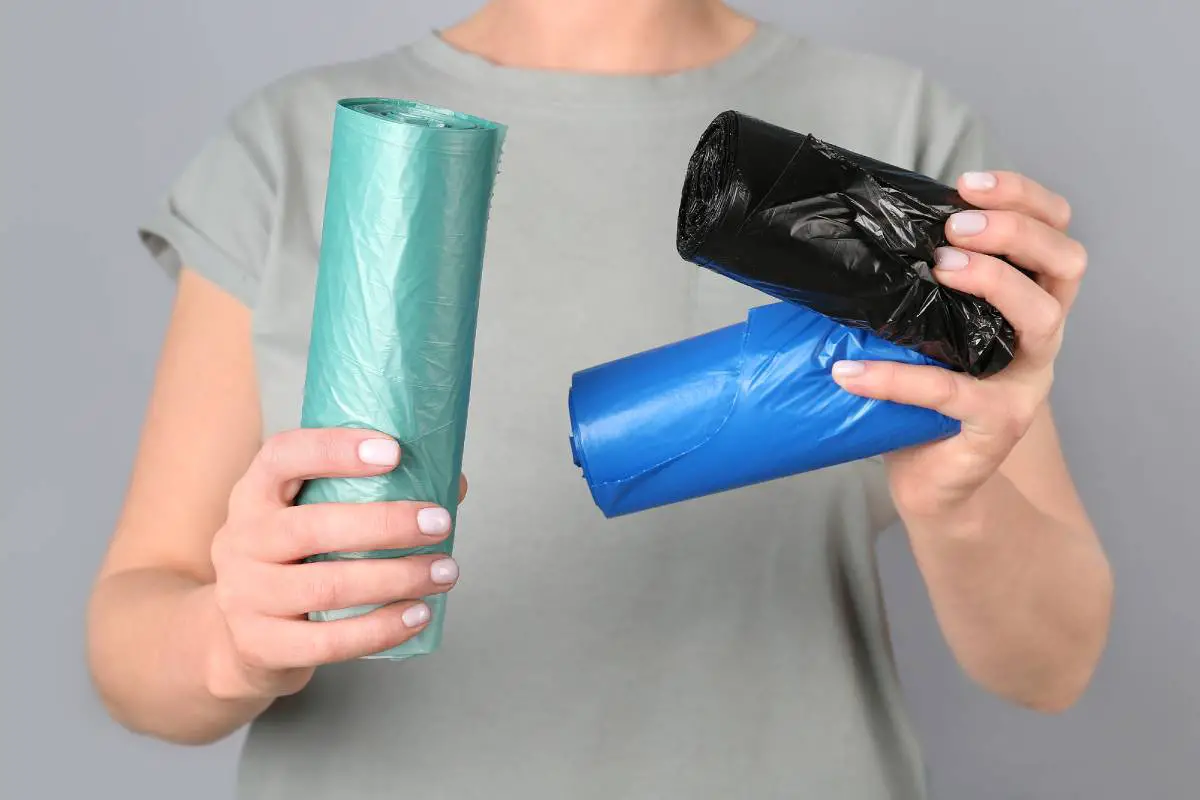
As you collect items that you want to sell, place them in large garbage bags or boxes and store them in a seldom-used room in your house (or inside the garage).
If you are able to group items by “category” or “theme”, it will be much easier to price the items and set them out for display on the day of your yard sale.
#3 – Compare Notes
 If you’ve had a yard sale before, think back to what went wrong and what went right at your previous yard sales.
If you haven’t had one of your own, then learn from the mistakes of others by studying their best tips for having a yard sale.
Make mental notes of things you want to do at this year’s yard sale, based on what you’ve learned from previous ones.
And if you want to do it even better the next time, then take the time to jot down some notes.
Also, make a point to save as many items as you can from each yard sale — so you can reuse them at future sales.
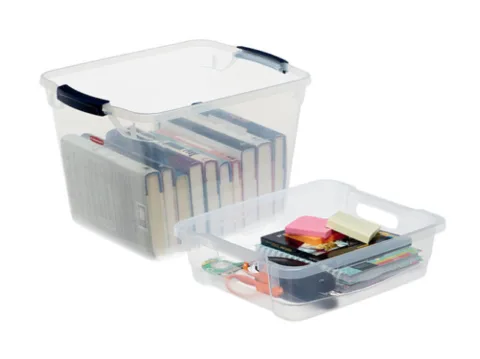
For example, I’ve probably hosted a dozen or so yard sales in my lifetime, and I have one large Rubbermaid container that contains all my “necessities”. So, whenever it’s time to have another yard sale, I just drag out that one bin and everything I need is right there.
#4 – Collect Yard Sale Necessities
I call this my Yard Sale Kit.
The smaller items are stored inside a Rubbermaid container that I keep in my attic.
The larger items I gather up in the days before my yard sale.
- Money organizer – You need either a cash box, fanny pack, coin bag, or crossbody purse to hold all of the money. I prefer to use a waist apron with pockets because the money stays with me at all times, and I’m able to separate the bills from the coins in the separate pockets.
- Petty cash – I always start with $50… five $5s, fifteen $1s, and $10 roll of quarters. (If you happen to have a couple of $10s as well, you’ll be glad you did because people usually start their yard sale shopping with fresh 20 dollar bills from the ATM.)
- Price stickers – I make my own price stickers using blue painter’s tape. (This is just one of the many clever uses for blue painters tape that I’ve discovered.) It’s also available in other fun colors (if you’re having a multi-family sale, for example, and want to track everyone’s sales separately). If tape isn’t your thing, they also make pre-printed price stickers and blank removable stickers too.
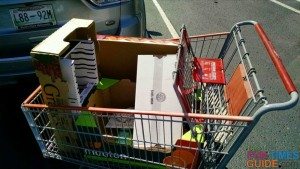 Costco boxes – for the sturdiest boxes, I swing by Costco several times in the days before my yard sale. I like shallow boxes with low sides because they’re easier for people to reach into.
- Tables – here are all the things that can be used to make “tables” at your yard sale: card tables, TV trays, cardboard boxes turned upside down, Rubbermaid tubs or crates turned upside down, or 2 of anything with a board placed between ‘em (chairs, ladders, buckets, sawhorses, etc.)
- Display signs – I like to label the fronts of all my tables to make it easier for customers to find what they’re looking for. I print out 8-1/2 x 11 paper signs, put them in clear see-thru page protectors, then tape them to front edge of table so people can see at a glance what I’ve got for sale.
- Black Sharpie markers – I use the Sharpie king size markers for my yard sale signs and the regular fine point Sharpies for pricing items.
- Neon posterboard – neon green is best for yard sale signs. You’ll want to make your yard sale signs the night before and hang them up in the morning.
- Election signs / Realtor signs – these corrugated plastic signs make a great base for your neon posterboard yard sale sign because they’re strong and sturdy in the wind and they stand tall enough to attract attention.
- Clear packing tape – I use this to waterproof my posterboard signs. Packing tape is also handy to secure things in place on the day of the yard sale — like a pole to hang clothes from when using a ladder as the base.
- Extension cord – so customers can try out electronics.
- Cleaning supplies – I use cleaning wipes to quickly wipe down items that are dirty & dusty and magic erasers to clean more deeply in all the nooks and crannies.
- Plastic grocery bags – I save these all year long anyway, so by the time my next yard sale rolls around I have a pretty big stash!
- Staple gun – for adhering neon-colored yard sale signs to telephone poles, fences, etc.
- Camping tarps, sheets, blankets, beach towels – use them for any items you choose to display on your lawn.
- Tablecloths, table runners, beach towels – to cover tables that might be old or scratched up. Pretty much any type of table covering makes a better first impression than a non-covered table.
- Clear packing tape – I use this to waterproof my posterboard signs. Packing tape is also handy to secure things in place on the day of the yard sale — like a pole to hang clothes from when using a ladder as the base.
- Scissors – you never know when you’re going to need a pair of scissors!
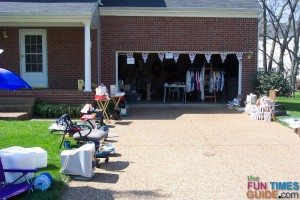 Balloons, flags, pennants, or streamers – to make your yard sale more noticeable from the road. My favorite is to use plastic pennant banners because they’re not over-used, so they’re unique and attention-getting. Plus, they come in fun colors and they’re on one long string — so they’re easy to hang, drape, and loop over and around things.
- Odd shaped hangers – if you’re like me, you’ve probably collected a few uniquely-shaped items through the years that could be used to hang items like scarves, ties, belts, coats, dog leashes, etc.
- Ladders and poles – to hang/prop items off the ground.
- Screw-in hooks – as long as your ladder is well-balanced (with all of the items hanging/placed on it), by screwing in a few of these hooks, you’ll have additional space to hang small items (necklaces, jewelry you don’t want kids playing with, etc).
- Notepad & pen – to take names & numbers of people interested in items that have technically sold, but you’re “holding” until they come back with the money. In case the people don’t come back, you’ll want to contact the others who’ve said they are interested in those items.
- Chairs – for yard sale hosts to sit on.
- Trash can – yard sale shoppers often bring water bottles, soda cups, and snacks with them. Having a place for them to leave their trash means they can shop at your sale longer, without their hands being full. Plus, if you re-price items on the spot as much as I do, then you’ll need a place to toss the old price tags!
Must see: Printable Yard Sale Items — including a yard sale items pricing guide and printable garage sale price tags.
#5 – Prepare Your Items For Sale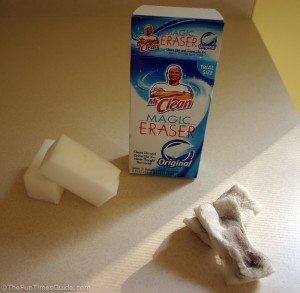
Two yard sales ago, I found a lifesaver. It’s called the Mr. Clean Magic Eraser!
Those little white cubes worked magic for cleaning things up a bit.
For the yard sale, they worked best on:
- hard cover books
- removing soot from candle jars & candle holders
- cleaning out all the tiny nooks & crannies on plastic things like coolers, chairs, handles, lids, etc.
Also helpful were Lysol cleaning wipes. I used those to wipe down practically everything I was selling.
As a result, many of the items I sold looked much newer than they actually were!
Bonus Tip #6 – Decide What You’re Going To Do With The Dog
 The the dog lover in me agrees with The Queen of Yard Sales:
Although you may have the friendliest dog in the world, it’s best to keep them away from your yard sale. Some people are afraid of dogs or are allergic. The day of your yard sale may be the day that your friendly dog, unaccustomed to the excitement of all the people, may decide to take a chunk out of the toddler that pulls on his tail. (Or jump up on customer and get mud on a customer’s pants – but hey, I swear it wasn’t my fault – that customer shouldn’t have come to my yardsale until I was officially opened!) It’s also for the dog’s safety as well, since cars will be coming and going from your driveway.
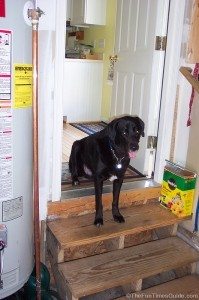
At first, I gave my (very shy) dog room to roam back & forth from the kitchen to the garage — up to a certain point where I had strategically placed tables to “block off” the back of the garage. But after awhile, I decided this was a bit confusing to him, so I let him hang out in the house alone. If your dog isn’t particularly comfortable entertaining himself in the house alone, you may want to try a crate or kennel instead. (My dog would’ve done just as well inside his crate.)
I like to help people find unique ways to do things that will save time & money — so I write about “outside the box” Household Tips and Life Hacks that most wouldn’t think of. I’m super-organized. And I LOVE to clean! I even enjoy doing laundry (but not ironing). I’m also a lifelong dog owner — so I often share my favorite tips for living with dogs inside your home (like smart home design choices and dog-friendly cleaning & decorating ideas). Career-wise, I’ve been sharing my best ideas with others by blogging full-time since 1998 (the same year that Google started… and before the days of Facebook and YouTube). Prior to that, I worked in Higher Ed over 10 years before switching gears to pursue activities that I’m truly passionate about instead. For example, I’ve worked at a vet, in a photo lab, and at a zoo — to name a few. I enjoy the outdoors via bicycle, motorcycle, Jeep, or RV. When I’m not cleaning, organizing, decorating, or fixing something… you’ll find me at the corner of Good News & Fun Times as publisher of The Fun Times Guide (32 fun & helpful websites). To date, I’ve personally written over 200 articles about cleaning, organization, DIY repairs, and household hacks on this site! A few have over 2M shares; many others have over 100K shares.

